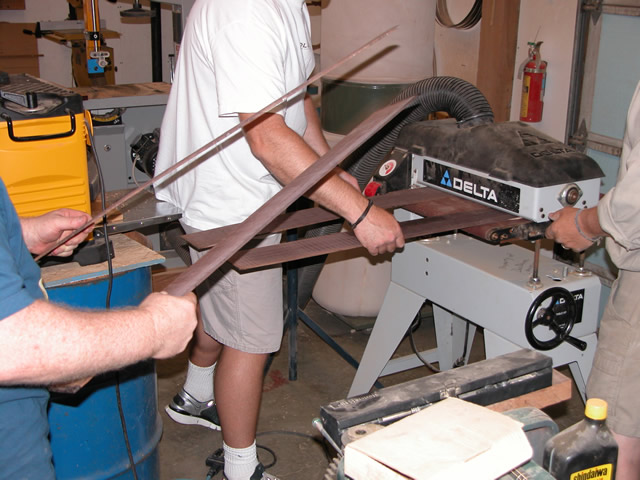
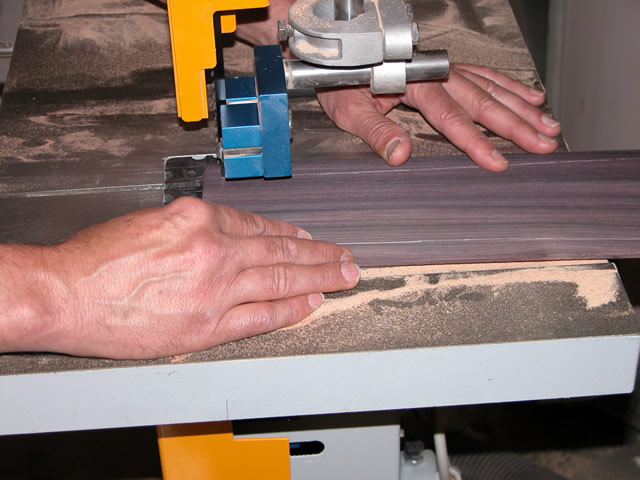
| Working on the sides begins with reducing their thickness from about
1/8" to just under 0.09". To do this a thickness sander was used. |
 |
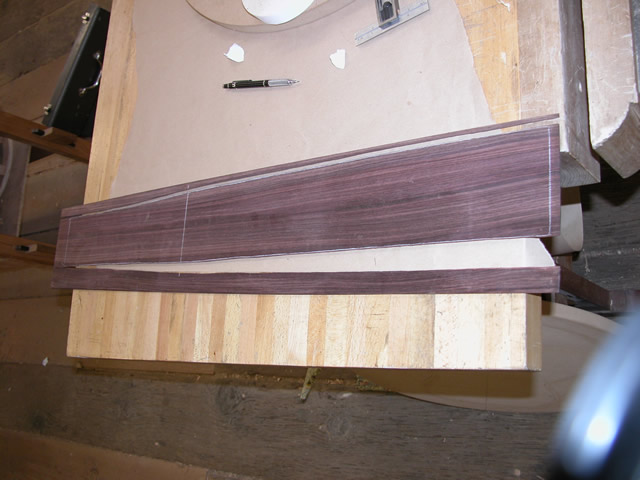
| The sides were marked with the pattern of the final, varying widths.
The side widths vary in a complicated pattern that is caused by the
curvy body intersecting in the perpendicular plane with the 15' (back)
and 25' (soundboard) radially-domed surfaces. (confusing?--you bet;
thank goodness there was a pattern to follow! |
 |
| This picture shows the results of cutting out the sides along the
pattern. It turns out important to mark the top and bottom of the sides,
because the differences are subtle and could easily be confused later. |
 |
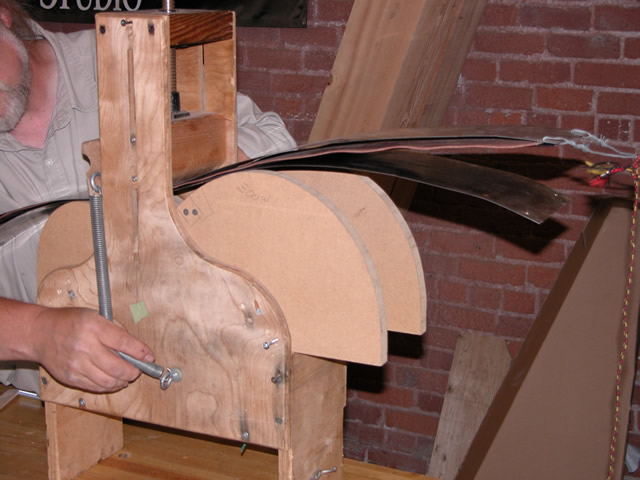
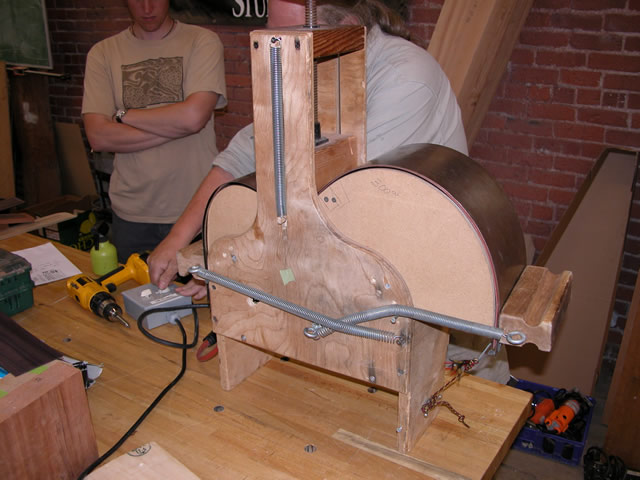
| There's two main methods for bending the sides into the "curvy" guitar
shape, forming the waist and the upper and lower bouts. The hard method
is to bend the sides using a hot pipe and bending the wood by hand.
The other, easier method, is to build a forming machine that automates
the bending process. Basically, the form that's shown here creates
a sandwich of a wto sheets of stainless steel into which the moistened
side and a special silicone heating blanket are placed. The heat is
applied and as the wood becomes pliable, the sandwich is pushed into
the shape of the form. |
 |
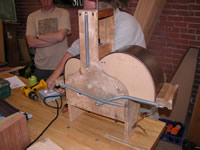
| Once th wood has conformed to the form, the system is locked in place,
and allowed to continue to heat for a short period. Once molded, the
heat is tyrned off and as the wood cools, it sets into the shape of
the guitar side. |
 |
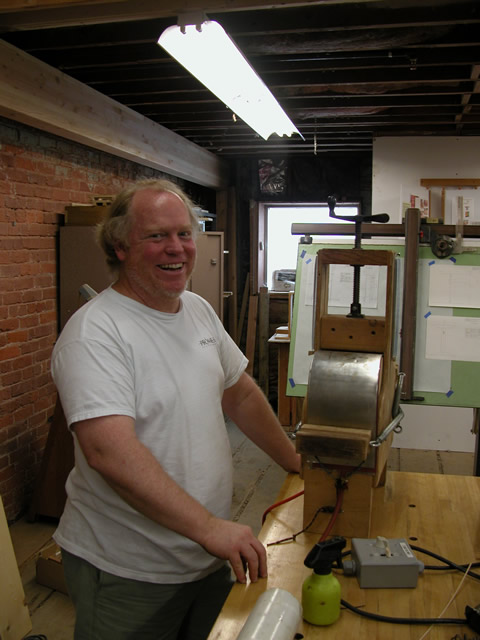
| Using the form machine is certainly a happy and pleasant
way to bend the sides. |
 |
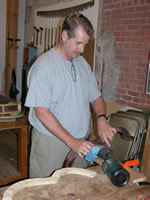
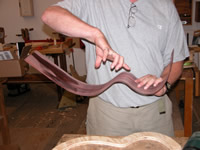
| The other way to bend the sides is to use a hot pipe--here, a length
of 3" diameter copper pipe heated with a propane torch. The pipe is
heated until it causes water to sizzle on the surface, then the wooden
side is held against the heated pipe until the wood becomes plaiable
and capable of being bent into the guitar shape. The process is simple,
but reuires paractice to get a feel for the give in the wood. If the
pipe becomes too hot, charring will occur; one method for reducing
charring is to place a moistened paper or then cloth towel over the
pipe. This reduces the heat, but reduces charring by keeping the wood
from being in direct contact with the pipe. |
 |
| The process moves from the wist to the upper bout and finally to
the lower bout. Frequently, the bent side is compared to the mold to
ensure that the proper shape is being created. |
 |
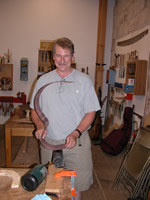
| Finally, the correct shape emerges. Now, on to doing the other side! |
 |
| Elapsed time for these steps: 12 hours... See
the main page for the cumulative time. |
|