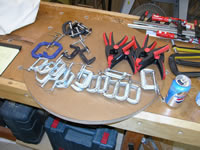
| OK, I'm all set up with all of the 2" "C" clamps that I could buy
in Corvallis. There are about 30 clamps here; I bought out all of
the clamps from four hardware stores. All that's left in town are
the pricey clamps at Home Depot. |
 |
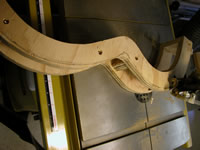
| I practiced a little with the 2" clamps, and realized that these
clamps didn't open enough to span the side of the mold, the guitar
side, and the lining (kerfing). So, I marked out a 1-1/2" width all
along the mold and used the bandsaw to trim it down. |
 |
| I have four pieces of kerfing left that I will use for the linings.
I will use one half of the mold and will install one piece of lining
at a time. There are a total of four pieces of lining to install.
I have just enough. |
 |
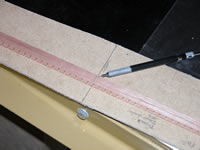
| I marked out the location of the center of the waist on the kerfing,
so that I could properly start the lining installation. To do this,
I used the side template. |
 |
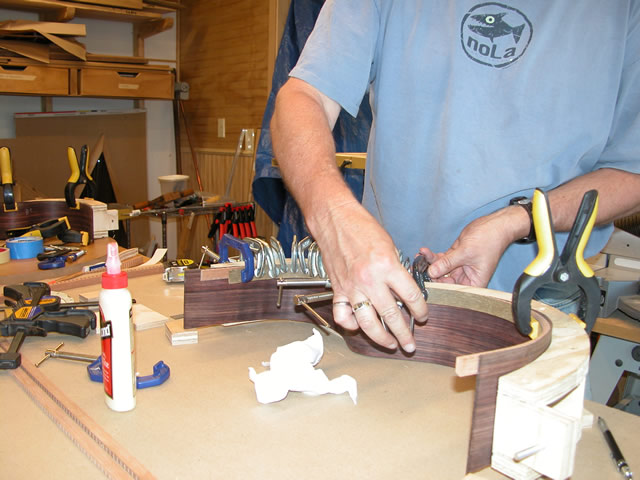
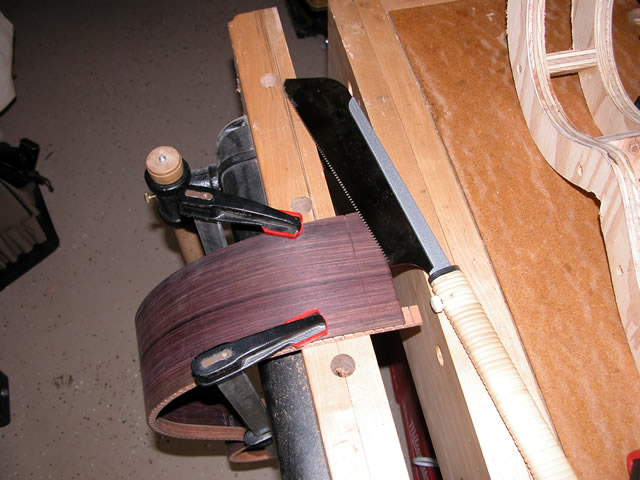
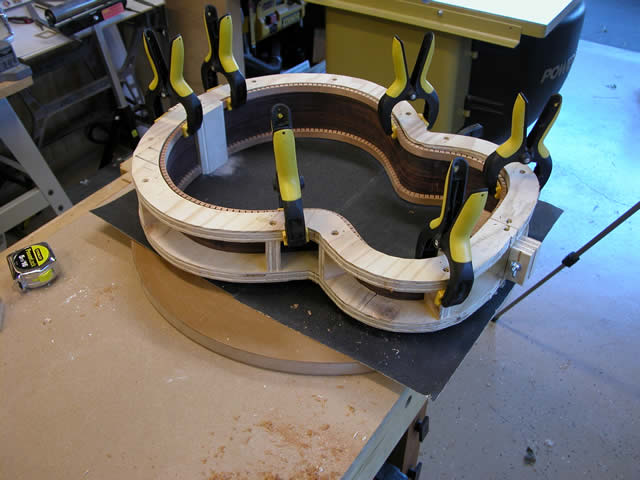
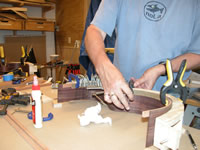
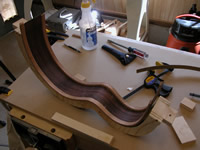
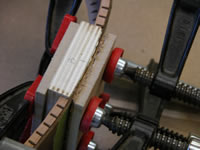
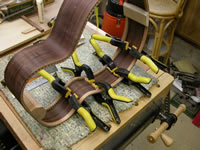
| I decided to do a trial run, beginning with placing the kerfing
on the waist, and then bending around the upper and lower bouts.
In the photo, a piece of formica is just visible between the lining
and the clamp. This will hopefully protect the lining from clamp
damage and will reinforce it as I make the bends. |
 |
| Oh no! I put too much pressure on the kerfed pieces as I was bending
into the lower bout. The piece of kerfing that I had would now need
to be re-made. |
 |
| So, I grabbed one of the remaining three pieces of
kerfing, and this time I sprayed down the web of the kerfing with
water, waited about 10 minutes, and sprayed it down again before
attempting to put it into place. |
 |
| I worked much more slowly this time, again beginning
at the waste and temporarily clamping the upper and lower bouts in
place as I installed my c-clamps. I placed the c-clamps with about
3/8" to 1/2" in between each, judging what would give the
most even pressure depending on the curvature of the side. |
 |
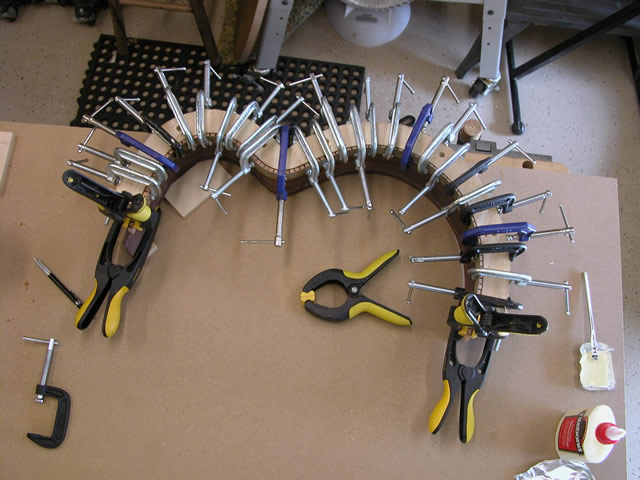
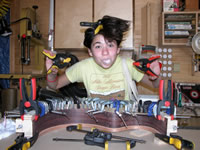
| Here's a picture of the fully clamped lining on the
first side. Since the glue has about 10 minutes set-up time, had
to work quickly. I learned that it's helpful to clamp the form to
the workbench and to shim up the form so that there would be traction
for the clamps at the lower bout, where the guitar side was much
wider than the form. Oh--and it's very helpful if all of the clamps
are fully opened before starting the clamping. It's really a pain
to try and open each clamp as the glue is setting up. I am so glad
that I did a dry run. |
 |
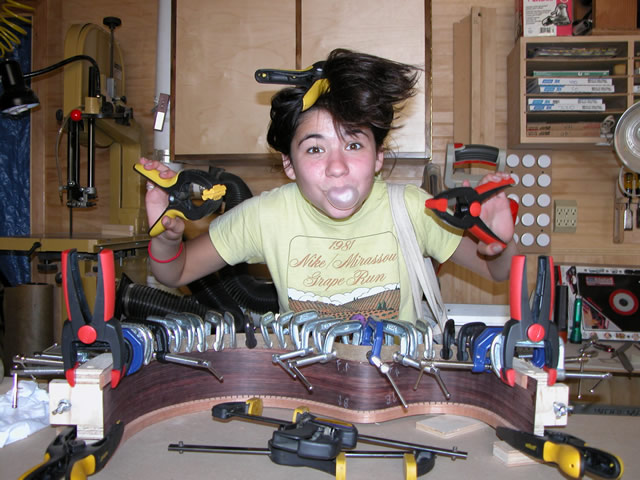
| Jaclyn's portrayal of her perception of me as the "CLAMP
MONSTER"! |
 |
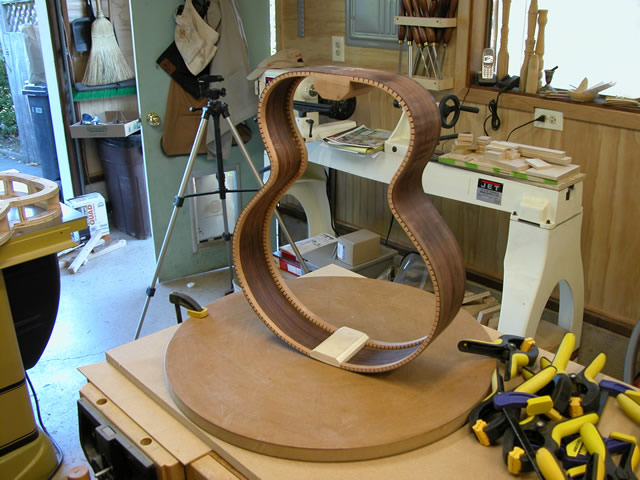
| Finally after about an hour, I removed the clamps and
the guitar shape emerged. One of the nice things I discovered is
that the process caused the side to better conform to the curvature
of the form. Now, on to the other three linings (Oh yeah--I have
to make more linings also, since I broke one.) |
 |
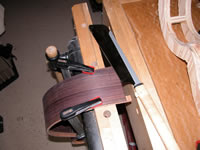
| Once I completed the second lining on one of the sides,
I carefully re-clamped the lining-ed side in the form, marked the
ends with the form, gently clamped the side to my vise, and used
my dovetail saw to trim the ends off of the side. |
 |
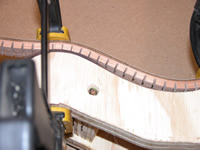
| A completed side is shown here. With both linings glued
in, the side looks great. |
 |
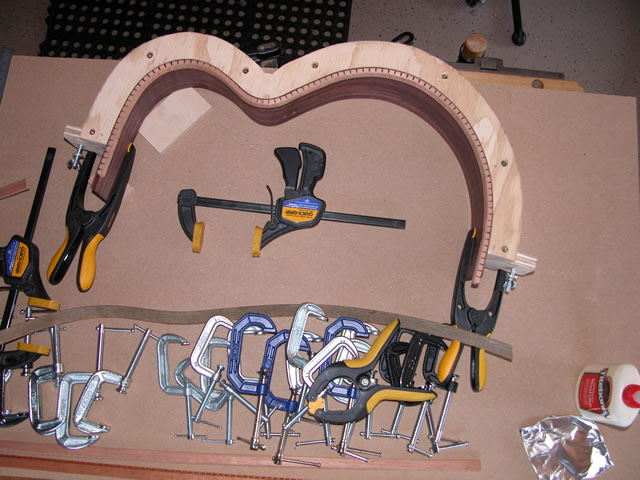
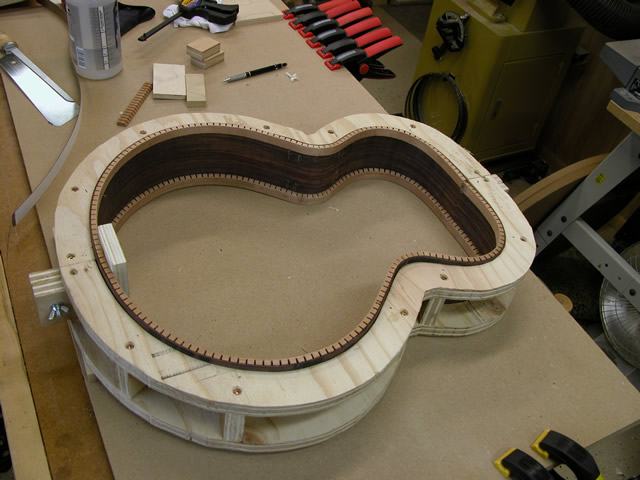
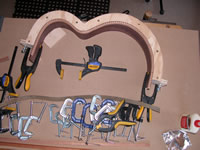
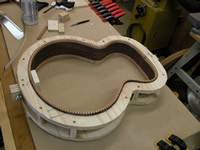
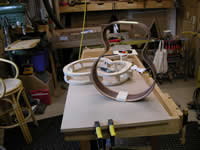
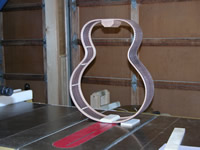
| All four linings are installed now, and the ends are
trimmed from both sides. I put the form together with the sides captured
to check the fit, and everything looks OK. It looks like a guitar
body! I've begun the process of shaping the end block, which you
see resting inside the form. |
 |
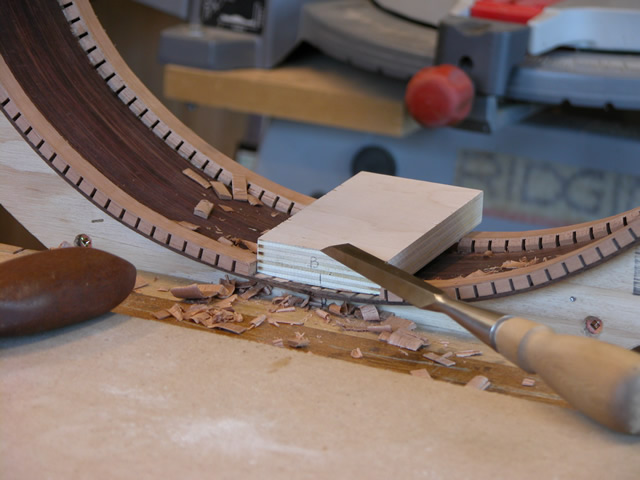
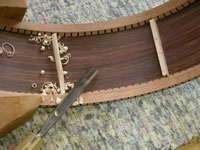
| I've shaped the tail block here, and placed the block
in its final position. I used a marking knife to mark its location
on the kerfed linings. Note that the curve on the tail block matches
the curve of the guitar body at the end of the lower bout. |
 |
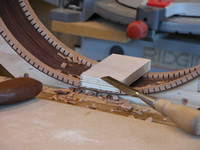
| Using a chisel, I removed the kerfed linings from the
area of the tail block. |
 |
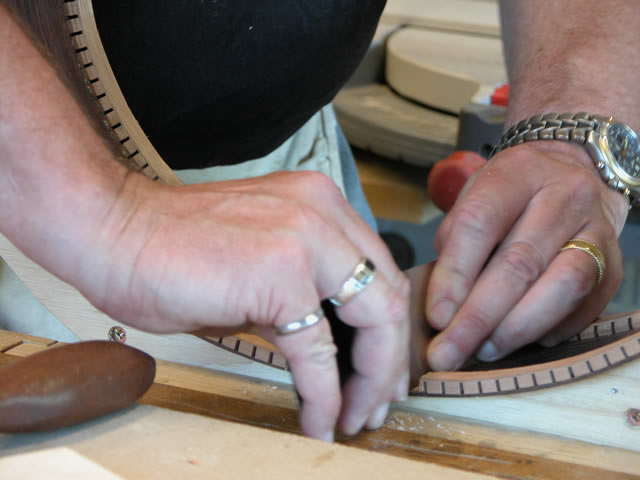
| Before clamping, I scraped the area clean using a very
flexible scraper. Note that I clamped the mold, with the guitar body
inside, in a vertical position in my bench vise so that it was more
convenient to work on. |
 |
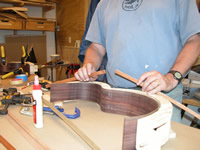
| Finally, following Dan Biasca's suggestion, I built
a flexible caul using 1/4" MDF and 1/8 cork and placed this caul
on the curved side. Adding another caul to the flat side, I spread
glue on the tail block and clamped the block to the sides with four
bar clamps. |
 |
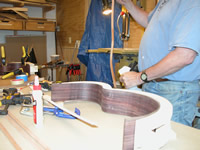
| I repeated this process for the head block, the main
difference being the size of the head block and that the head block
is not curved. It was difficult to keep the glue squeeze-out from
sticking to my cork-faced caul. |
 |
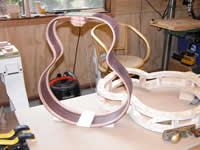
| Wow! The guitar body is really starting to take shape.
My next step will be to shape the cauls by chamfering the edges,
and sanding the dome curves into the face and back of this structure. |
 |
| Elapsed time for these steps:
20 hours (including making new kerfing)... See the main
page for the cumulative time. |
|
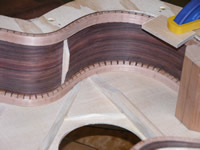
| This is a view of the guitar body, after the end blocks
were shaped by chamfering with planes. I protected the kerfing from
plane damage by placing a small strip of plastic laminate over the
kerfing as I planed. |
 |
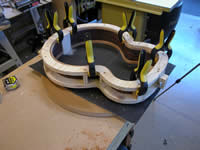
| The next part of the side assembly process was to shape
the top and bottom of the sides into the dome shape. I procured a
couple of large sheets of 80-grit sand-paper from a cabinet shop,
and used double-sided tape to adhere the sheets to the domed work
boards. Then, I clamped the side assembly into the form, such that
enough of the assembly protruded through the form for sanding on
the workboard without hitting the form. |
 |
| I learned that I needed to saw some of the excess off
of the endblocks; I did so by marking shimming the entire body so
that it was an equal distance above the workboard, and marking this
shimmed amount on the end blocks. I then used a dove-tail saw to
remove the end block excess. Then, carefully holding the side assembly
in the form so that it was level, I proceeded to sand, look at the
sanded areas and carefully plane where sanding occurred, sanding
and planing again and again, until the entire top (or bottom) was
evenly sanded. At that point, the top (or bottom), uniformly lay
on the domed form. |
 |
| Now, the side assembly is complete, and ready for enclosing
the body. |
 |
| Elapsed
time for these steps: 6 hours... See the main
page for
the cumulative time. |
|
| I installed side struts to help reinforce the sides.
I began with pieces of Sitka Spruce, 3/16" wide by 1/4" high, spanning
from lining to lining. I glued these in using AR glue. |
 |
| I then marked a 5/8" center portion, reduced the
profile to a rounded triangular shape, and tapered down from the
center 5/8"
mark to the end. |
 |
| The completed side assembly looks great. |
 |
| Here's a detail of a finished strut. |
 |
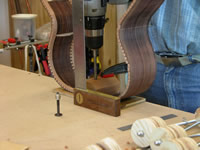
| One final step before gluing the tops on the sides.
I drilled for the neck bolt (seen in the foreground) by first drilling
a counterbore for the bolt head, and then a small hole for the bolt
body. Each of the holes were drilled about 1/16" large to provide
some room for future adjustment. I used the upright square to help
me keep the drill shaft vertical. |
 |
| Elapsed time for these steps:
5 hours... See the main page for the
cumulative time. |
|