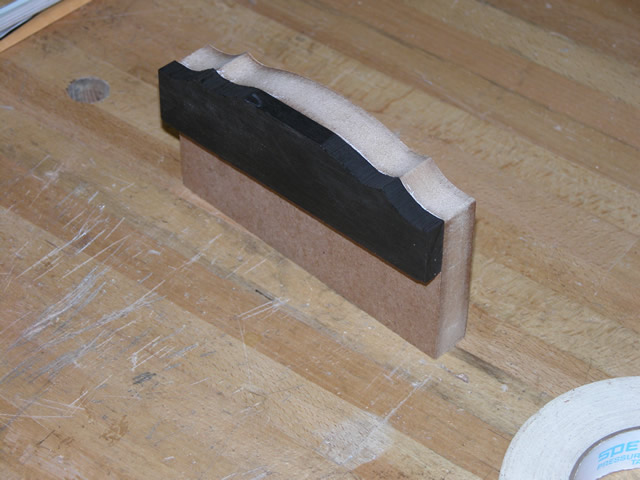
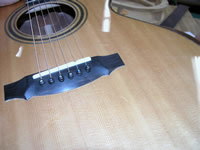
| Here's the target--a nicely crafted (sculpted?) bridge that is
on Dan Biasca's completed guitar that's the model for the guitar
being built in this class. |
 |
| The bridge started with a slab of Ebony approximately 3"" wide
by 7" long by 1/2" thick. First, one flat was established by planing
one side, and the piece was thickened to just slightly thicker than
3/8". A template of the plan-view shape of the bridge was drawn on
the surface of the slab, then the rough-cut piece was double-sticked
to a pattern for final shaping. |
 |
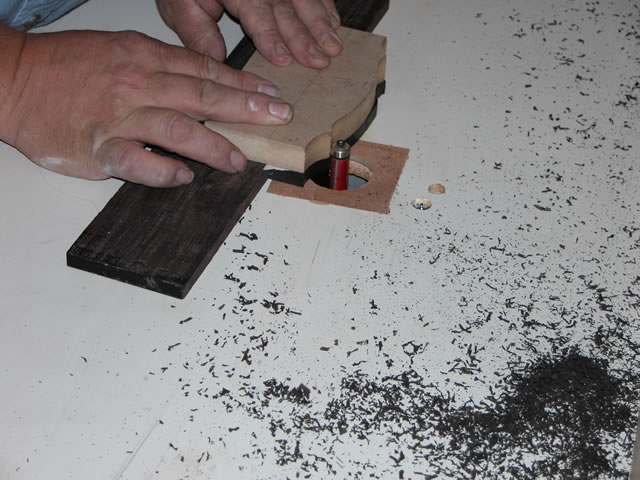
| Here, the piece is being final shaped by cleaning up the rough
piece using a pattern bit on the router table. |
 |
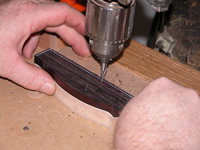
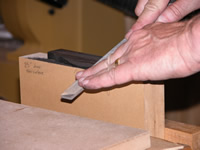
| While the top of the bridge is still flat, a slot for the saddle
is cut in the bridge. Note that the slot is angled--it is skewed
away from the fingerboard by 1/8" to compensate for increased tension
when a string is pressed against a fret. If this isn't done, the
tones would be slightly sharp when the strings are fretted. This
slot is accomplished by using a 1/8" router bit in the drill press.
The back of the pattern (next to the fence) is skewed at the right
angle. |
 |
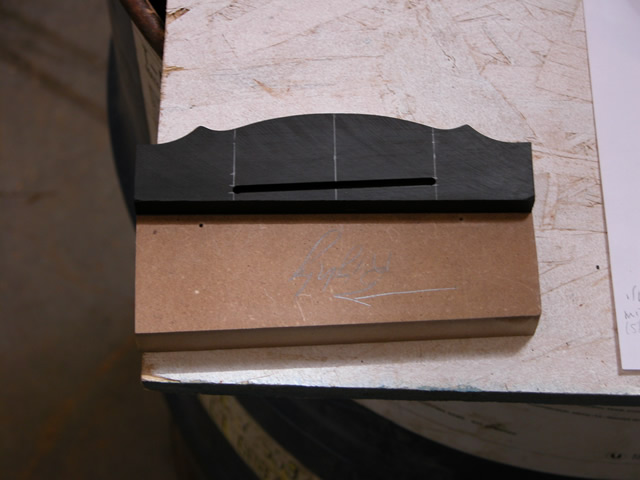
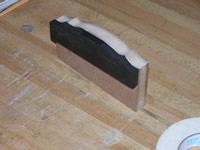
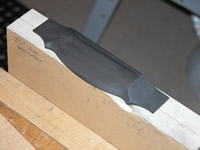
| Here is the bridge, with the slot cut but before carving the shape
on the top of the bridge. |
 |
| To carve the top shape, I began with a flat file and created a
fingerboard-to-end curve. the diameter of the curve will probably
end up being about 2" or 3". |
 |
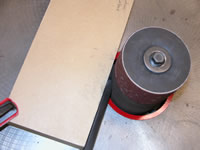
| Once the front-to-back curve is completed, I installed
a domed fence (25' dome) 1/8" away from a spindle drum and very carefully
fed the ends of the bridge into the drum. I had to move slowly to
avoid stalling the drum. |
 |
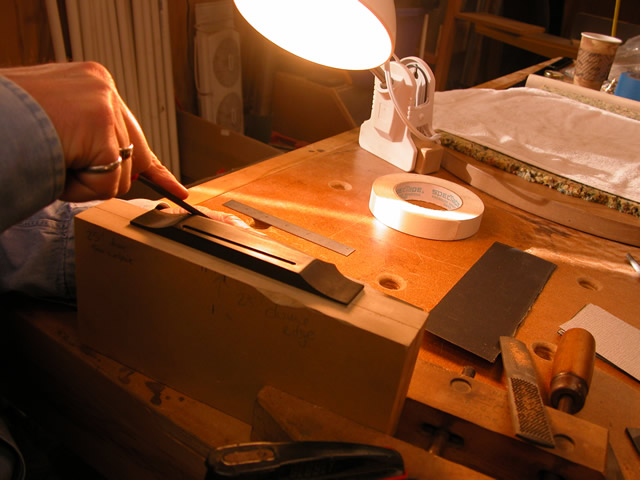
| Finally, I used a 1/2 round file to sculpt in some
additional curves as shown, and sanded up to 400 grit. This is now
close to the final shape, and the holes for the string pegs will
be cut after the bridge is installed on the guitar. |
 |
| Elapsed time for these steps:
6 hours ... See the main
page for the cumulative time. |
|
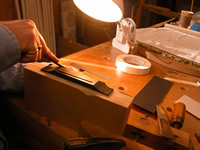
| It's been a while since I've worked on the bridge;
I set it aside while I worked on the guitar body. The guitar
body is mostly finished, awaiting polishing now and the next
step will be to attach the bridge. Before I do so, I need to complete
the final finish on the bridge. My last work on the bridge was to
complete the general shaping. On close inspection, some additional
final shaping is required, so using a combination of chisels and
increasing grades of sandpaper, I carefully cleaned up the shaping,
ensuring that the bridge shape looked symmetrical. |
 |
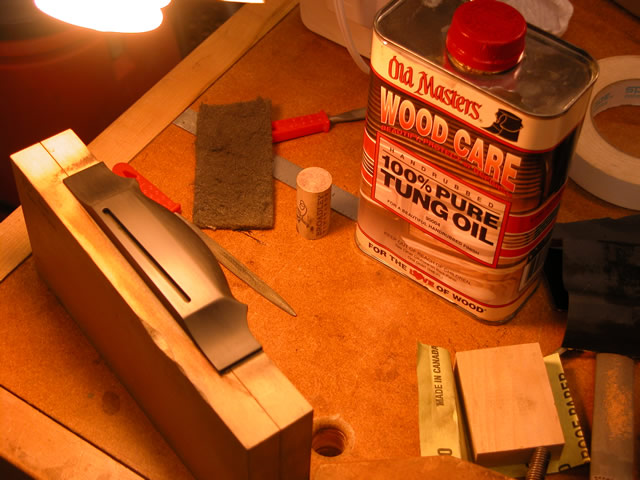
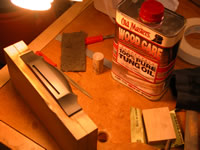
| Once the final shaping was completed, I applied finish
to the bridge. I chose to use Tung oil. Here, I've applied the first
layer of Tung oil. I applied it unthinned, and wiped it off of the
surface with a cloth. This showed a few file marks that hadn't yet
been sanded. I cleaned up these marks and lighlty buffed the surface
with a synthetic wool pad. It looks pretty nice. I'll let this first
layer of oil dry about 4 hours, and then I'll apply a second layer
of oil, buff it in lightly, and let it dry overnight before final
buffing. |
 |
| Elapsed time for these steps:
2 hours ... See the main page for the
cumulative time. |
|