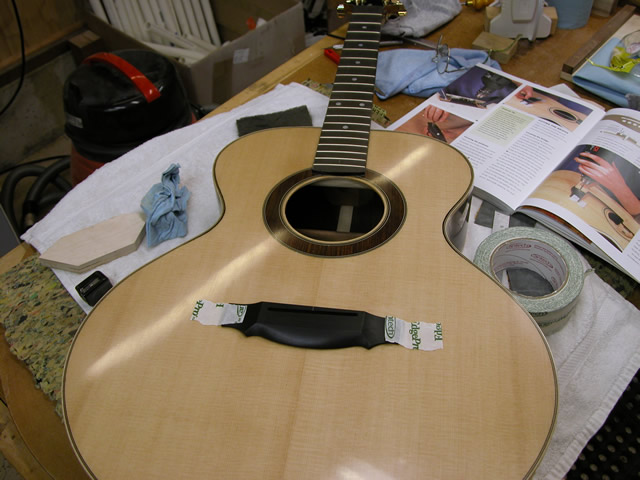
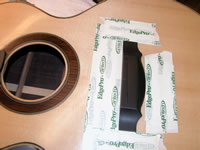
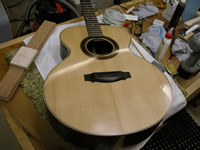
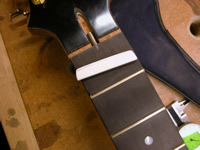
| Now that the guitar is polished, it's time to install the bridge
and attach the hardware. First, I begin by removing the masking tape
from the bridge location, from the soundhole, and from the neck and
truss rod. I used an Exacto Knife to slice the lacquer around the
tape that covered the bridge glue area; this way, when I pulled off
the tape, the lacquer wasn't damaged. However, I should have done
the same on the fingerboard, because when I pulled the tape off,
it damaged the lacquer on the side of the fingerboard. I'll figure
out how to deal with this later. |
 |
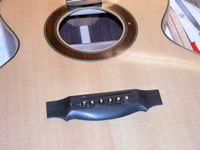
| I carefully measured the location for the bridge. First, I centered
it with the center of the fingerboard and I set it at the proper
scale length (25-11/32"). Then I adjusted the wings of the bridge
so that the bridge was parallel with the frets. I used light-adhesive
masking tape to affix the bridge in location. |
 |
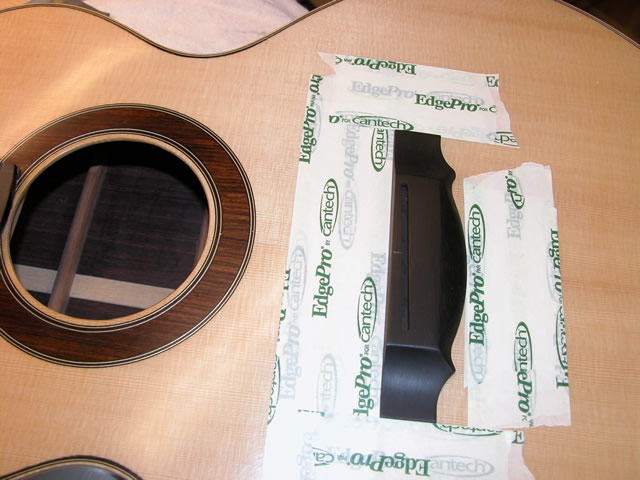
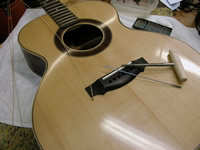
| Once the bridge was located, I placed masking tape around the front,
sides, and back of the bridge. Using four layers of tape, I was able
to create a boundary for the bridge that will help it remain in the
proper place when I glue it. |
 |
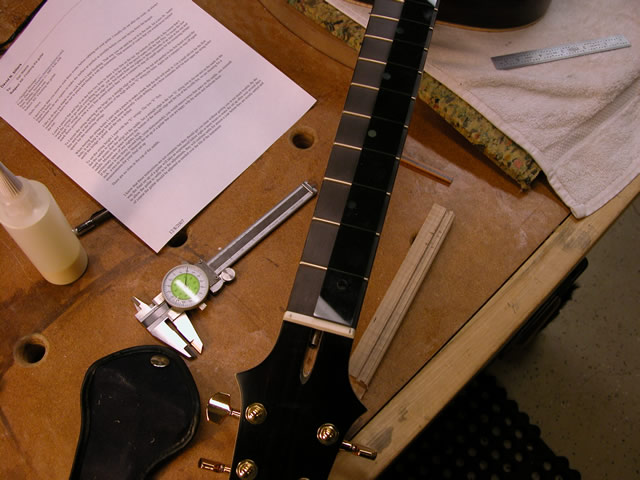
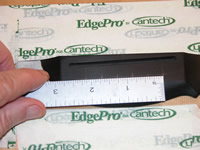
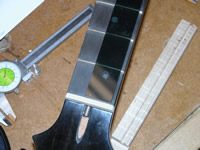
| To additionally fix it in place, I've decided to drill out the
two "E" string holes and use those holes as indexes when
gluing the bridge. Here, I have located the two holes by laying a
straight
edge 1/8" in from either side of the fingerboard. I also laid
out a line 3/8" from the back of the saddle slot. Doing so will
mean that the pin holes will be slanted in the same manner as the
saddle
slot. I could have made the pins follow a different pattern, but
I like this idea. The distance between the two strings is 2-3/16";
the spacing between strings is 1/5 of this distance, or 7/16"--as
laid out here. |
 |
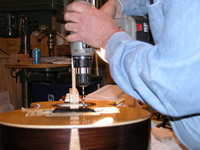
| I used a cam clamp to hold the bridge in place within the masking
tape boundary. |
 |
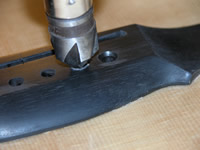
| Then, I used a 3/16" brad point bit to drill out the pin holes.
Later, I'll taper these holes. I was very careful to drill slowly
so as not to "blow out" the bottom of the holes. |
 |
| Once the holes were drilled, I put a double layer of masking tape
on the lower portion of two of the tapered bridge pins so that the
would register tightly in the hole at the interface with the top.
They seemed to fit properly. |
 |
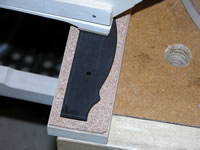
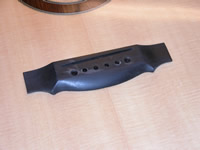
| Earlier, when I taped off the area of the bridge, it was taped
off about 3/16" narrower than the bridge itself. This way, the lacquer
finish would run under the bridge. However, this means that there's
a slight "ledge" of lacquer at the edge of the underside of the bridge.
In order to let the gluing area of the bridge seat fully on the top,
I need to cut a very slight rabbet around the bottom of the bridge
to allow for the thickness of the lacquer. I start making this rabbet
by drawing a line approximately 3/16" in around the perimeter of
the bottom of the bridge. |
 |
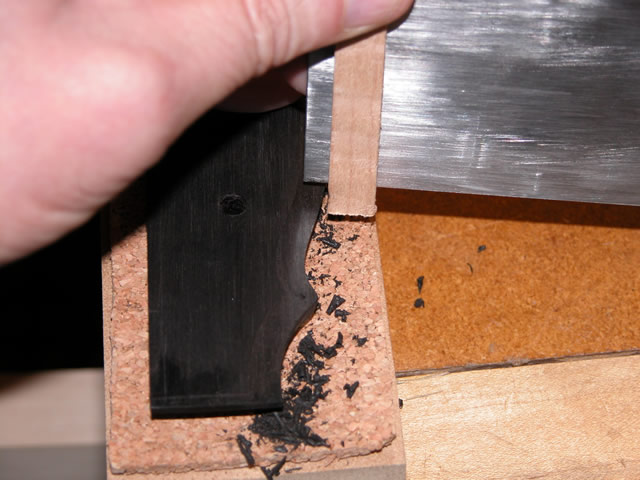
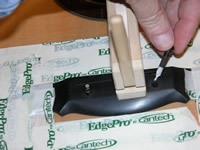
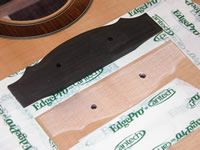
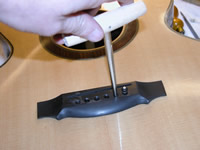
| Next, I begin creating the rabbet by using a scraper. To ensure
a constant rabbet width, I used double-faced tape to affix a fence
to the scraper as shown. I scraped the long edges of the bridge underside
first, then the cross-grain ends to avoid tearing out the cross grain. |
 |
| The result was a consistent rabbet around the perimeter of the
bridge. I had to use judgment to ensure a consistent depth. |
 |
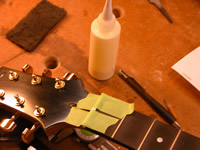
| I thoroughly vacuumed the area of the top for gluing the bridge,
then placed glue on both the top and the bridge. |
 |
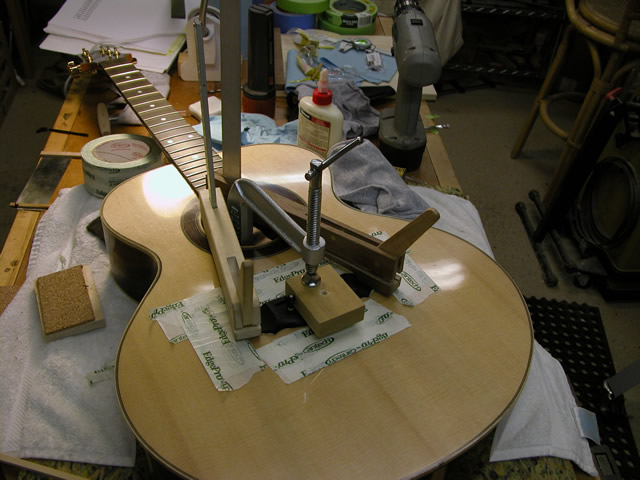
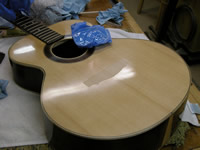
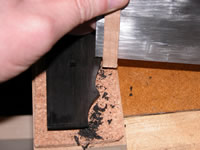
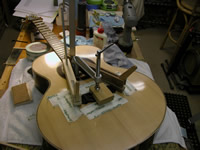
| Finally, I clamped the assembly in place using three clamps as
shown. The deep-throat c-clamp has a clamping block inside of the
guitar to spread the force and to avoid damaging the top braces.
I used double-faced tape to stick the block to the clamp before inserting
the clamp into the guitar. The cam clamps help hold down the wings.
After 30 minutes, I too the clamps and tape off and cleaned off the
glue squeeze out with a small wooden stick (to avoid lacquer damage).
Then, I re-clamped the assembly and will leave the bridge to dry
for a day. |
 |
| Elapsed time for these steps:
5 hours... See the main page for the
cumulative time. |
|
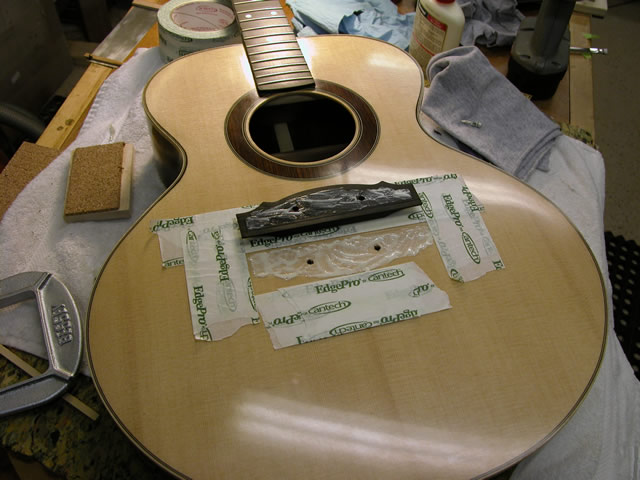
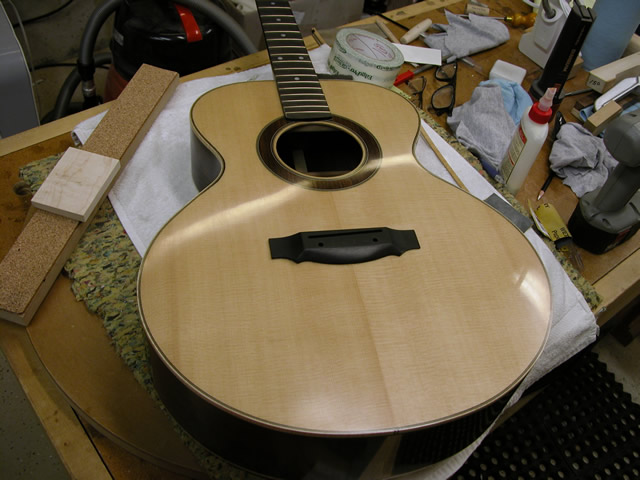
| After one day of setting, the clamps are removed from
the bridge. All looks well. |
 |
| I carefully equally divided the space between the two
'e' strings, and used an awl to mark the center for the string holes.
The holes were drilled in a straight line between the two 'e' string
holes, at 3/8" behind the saddle. |
 |
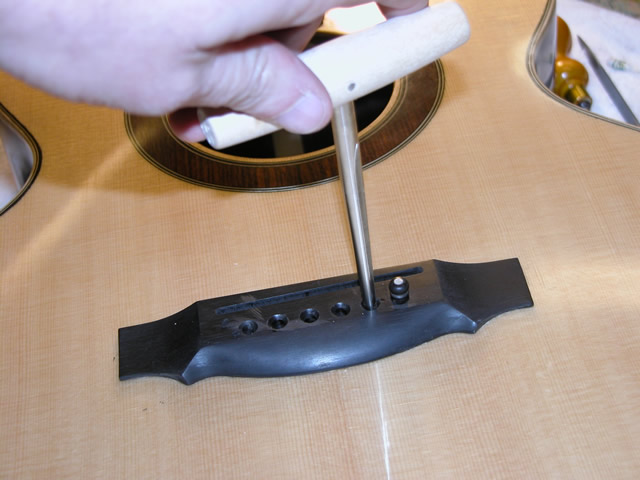
| Using a hand reamer, I flared out the string holes--this
looks better, helps seat the bridge pins, and provides a smoother
transition from the bridge to the saddle. |
 |
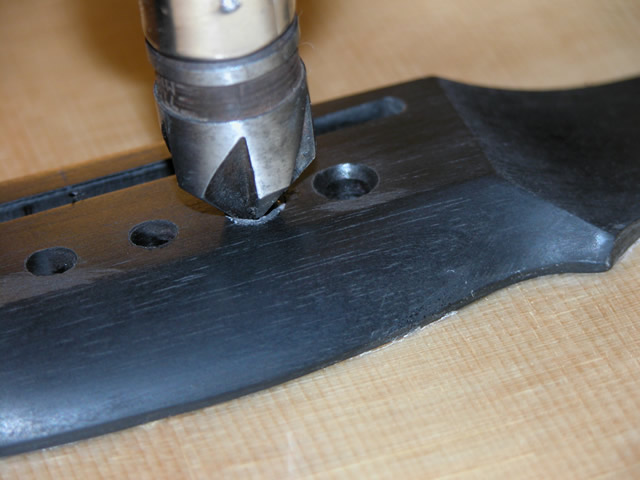
| Finally, I used a #3 taper to very slightly taper the
holes, trying to develop a hole that just allowed the bridge pins
to set. I learned that this is a very sensitive operation, as just
a 1/2 turn almost enlarged one of the holes too big. |
 |
| The pins appear to fit well, and I'll leave the holes
at this until I fit in the strings. |
 |
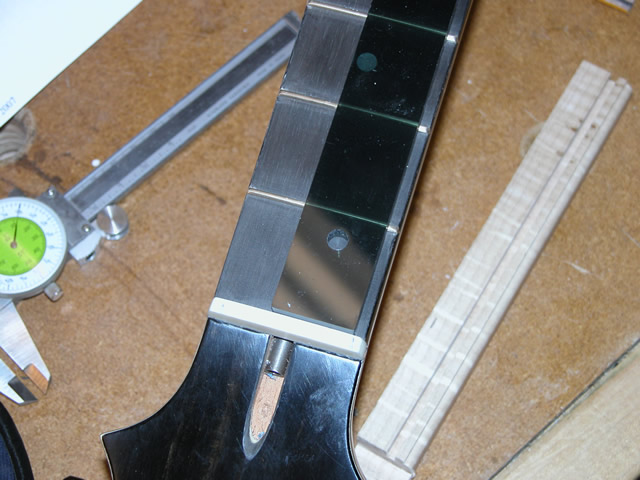
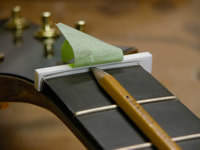
| The next operation is setting the nut. To start, I
cut a pencil in half and sanded it to a sharp point as shown. Then,
I marked the side of the nut and also marked a line parallel with
the tops of the first two frets. |
 |
| Using the marked lines, I cut/ground the nut. I worked
carefully to grind the sides so that they would match perfectly with
the neck sides. I also ground the top of the nut to within 1/16"
of the fret lines. |
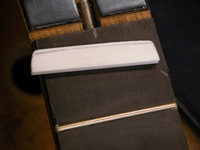 |
| Finally, I trimmed the nut so that it would taper from
the front of the nut toward the head, as shown. |
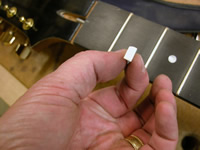 |
| The result is a well-shaped nut. I then carefully ensured
that the nut slot was cleaned out well. |
 |
| Finally, I used AR glue to glue in the nut, and used
masking tape to secure the nut while it dried for about four hours. |
 |
| Finally, when the nut was dry, I marked the location
of the two 'e' strings, setting them at about 1/8" from each edge
of the fingerboard. |
 |
| Once the string locations were marked, I used a fine
modeler's backsaw to cut at the two string locations. |
 |
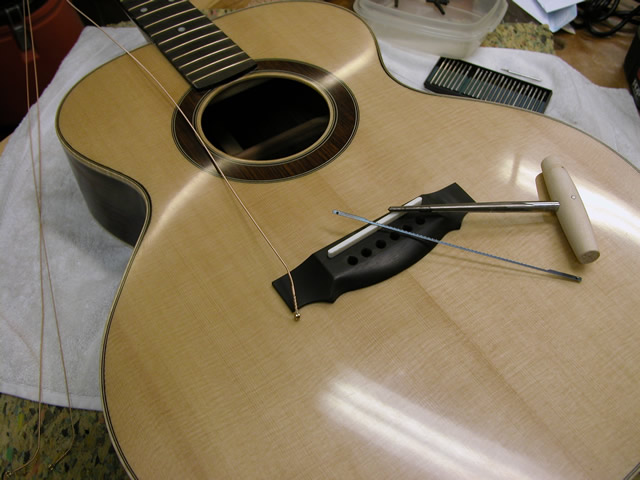
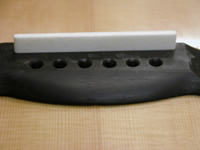
| Next, I turned my attention to the saddle. I started
by rounding one end of the saddle to match the rounded end of the
saddle slot. Then, I marked the length of the saddle. |
 |
| Finally, I trimmed the saddle and rounded the other
end. The final fit worked well. |
 |
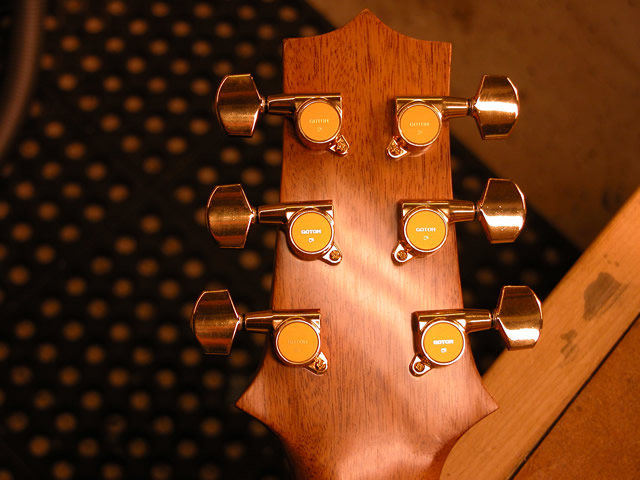
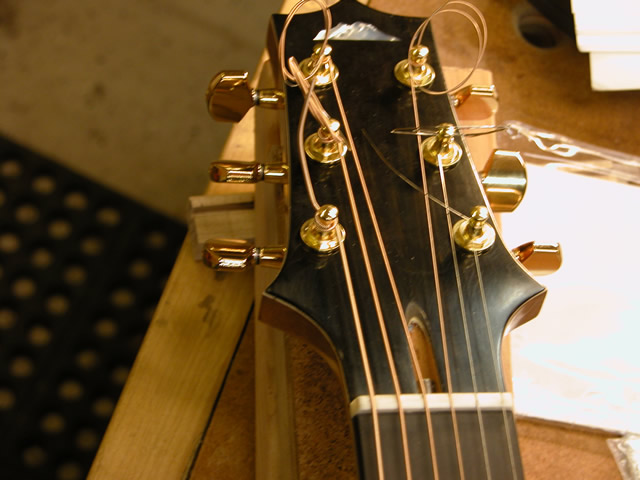
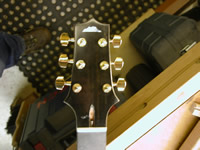
| Next, I set the turning machines in place, and used
an awl to mark the locations of the small screws that hold the turning
machines in place. I removed the machines, used a very small drill
bit to carefully drill the holes, replaced the turning machines and
installed the holding screws. |
 |
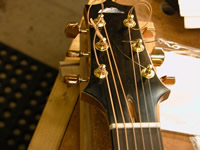
| I finished setting the turning machines by using a
10mm open end wrench to secure the nut on the top of the turning
machines. |
 |
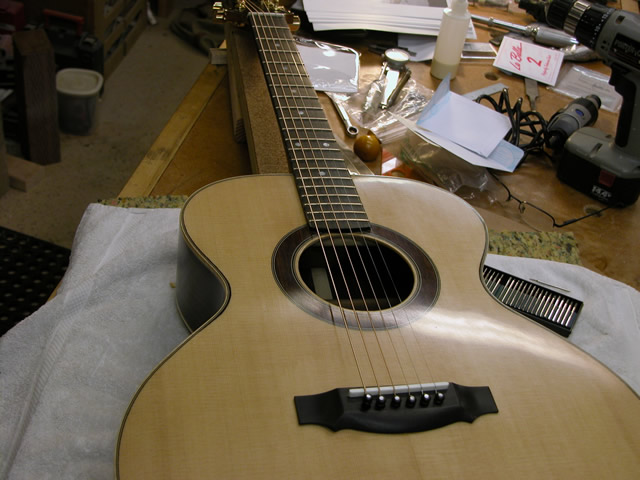
| Now, the moment I've been awaiting. I unwrapped the
strings. I started with the two 'e' strings and put them in place,
setting them into their respective saw kerfs. Then, I installed the
remaining strings and brought them to a light tautness. |
 |
| Once all of the strings were installed, I spaced them
so that visually they appeared evenly spaced. Then, I set kerfs to
the locations of the strings and deepened and widened the string
slots. |
 |
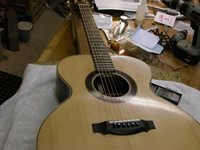
| I brought the strings up to pitch. I'm starting to
hear sounds out of the guitar. |
 |
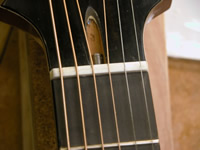
| Once the strings were brought to pitch. I noticed that
the bridge pins didn't seat well. (in fact, one pin popped out and
it took me awhile to find it on the floor!) So, I used the reamer
to slightly enlargen the low string holes (due to the fat strings).
Also, I used a saw blade to cut relief holes so that the pins could
pass by the strings. |
 |
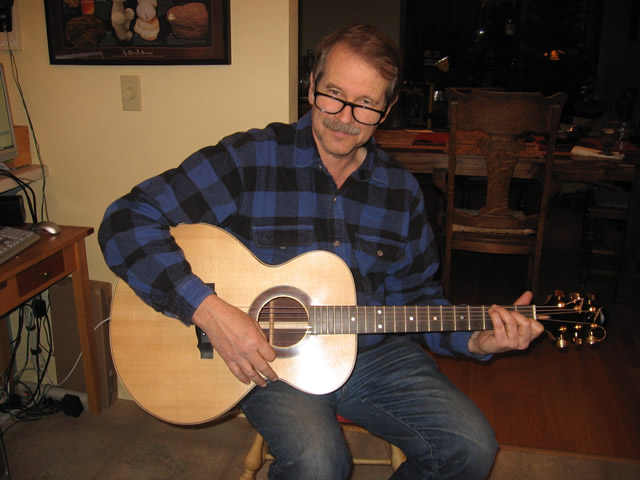
| I re-installed the springs and brought them to pitch.
For the first time, I could play a song on the guitar. The sound
is fantastic! (You can hear it, here.) |
 |
| Elapsed time for these steps:
8 hours... See the main page for the
cumulative time. |
|