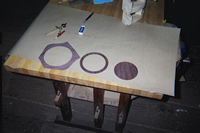
| The rosette began by jointing together two pieces of the off-cuts
from the back. Once jointed, a ring will be cut that will form the
center part of the finished rosette. An example can be seen in the
top in the lower right corner of this picture. |
 |
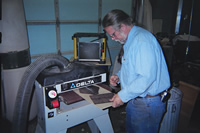
| The two joined pieces must be thinned out so that they are thinner
than the top. A sled is used to thin the small pieces on the power
sander. |
 |
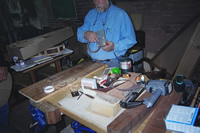
| Using an already-completed top as a pattern, the rosette circle
was traced onto the joined rosewood to ensure that it is accurately
centered and that it will expose the best grain. Once located, the
center of the circle was drilled with a 1/8" bit that will be
used in a jig to cut the rosewood ring. |
 |
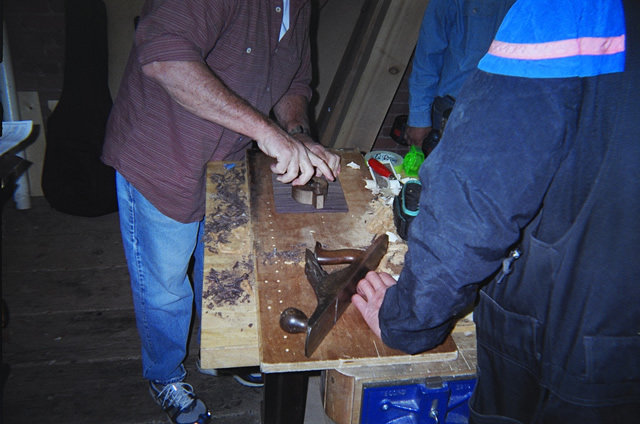
| Dan custom built a circle-cutter. The circle cutter rotates on a
brass pin that is inserted into the workboard; the rosewood piece
is placed over the brass pin, and finally the circle cutter is placed
on top. When properly set, the circle cutter is rotated by hand and
cuts out both the inside and outside diameters of the rosewood ring. |
 |
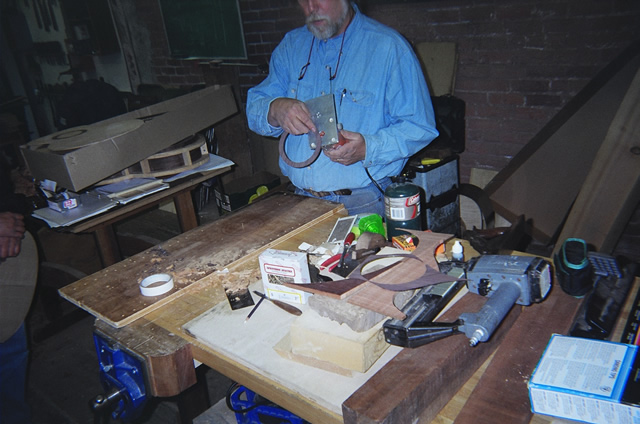
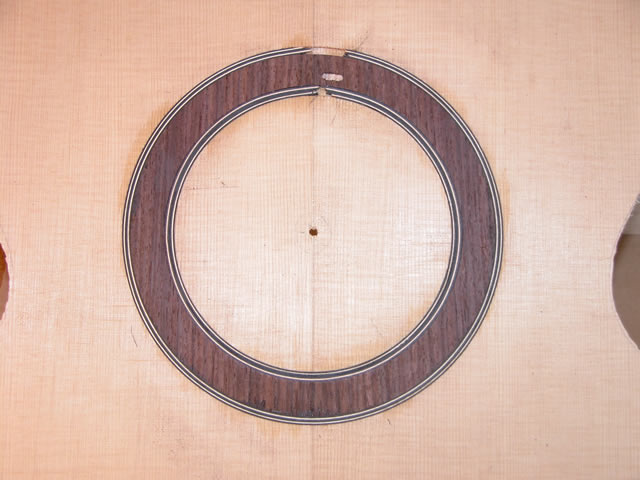
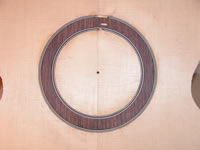
| This picture shows the result of cutting the rosewood ring for the
rosette. Dan emphasized that cutoffs like these should be kept. If
there's ever a repair needed on the guitar, there's nothing better
than the original wood to form a patch. |
 |
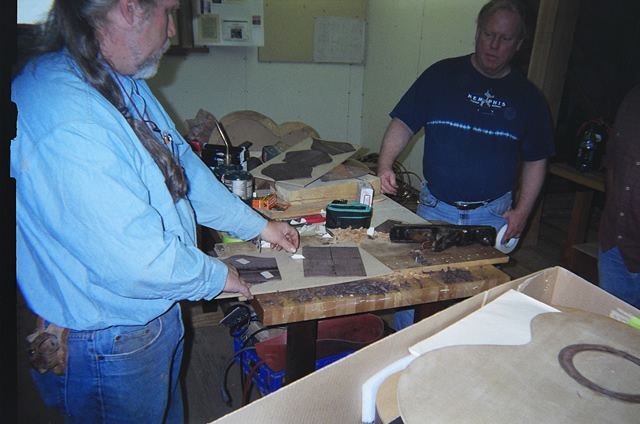
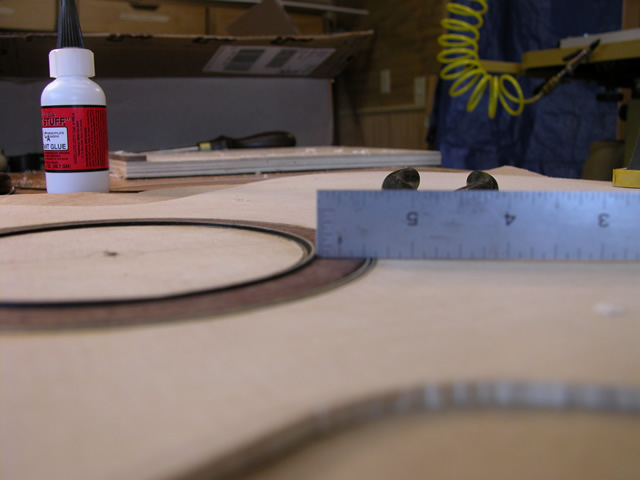
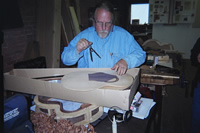
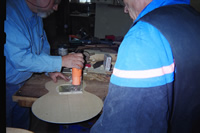
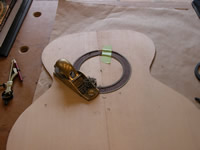
| The rosette is set around the sound hole in the guitar top. The sound
hole must be located, and a 1/8" hole is drilled in the center.
A router jig was used to rout out the circular rosette channel around
the location
of the sound hole. Here, Dan is checking the depth of the router bit
to ensure that it is slightly less thick than the rosette ring, yet
won't cut through the Spruce top. |
 |
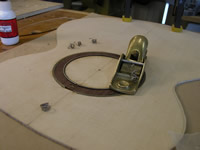
| The jig is used to rout out the circular rosette channel. The inside
and outside diameters are routed by shifting the brass pin (passed
through the workboard and sound hole center) to different
index holes in the router jig. |
 |
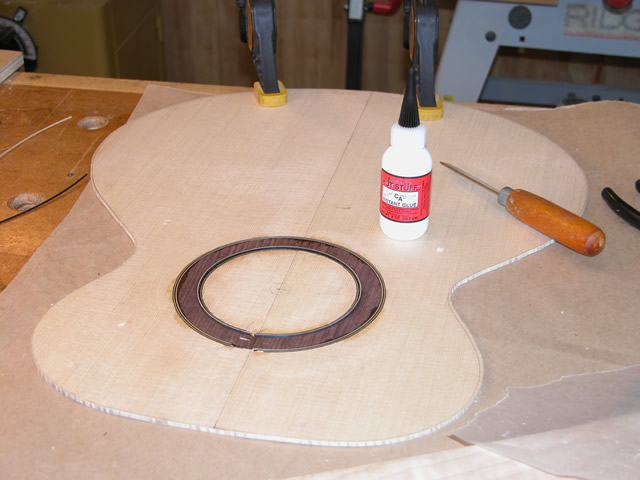
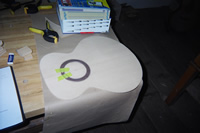
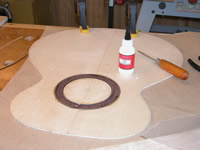
| Finally, the rosewood ring is glued into the center of the rosette
channel, and purfling strips are placed on either side of the rosewood
ring to create a pattern. The purfling strips here are a pattern of
black and white strips. This completed our second day of class work
on the
guitars. |
 |
| Elapsed time for these steps: 4 hours... See
the main page for the cumulative time. |
|
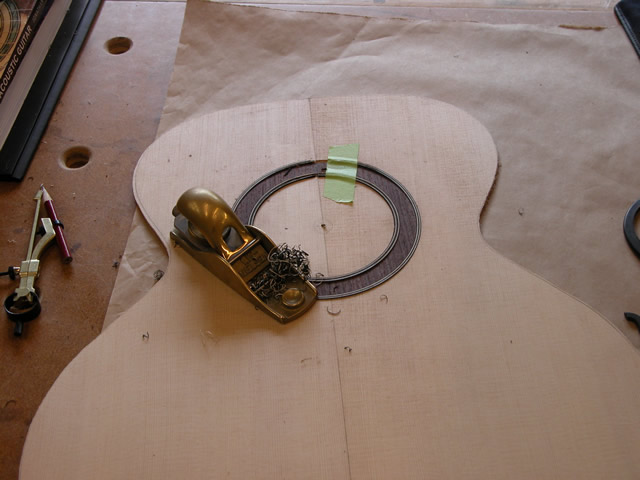
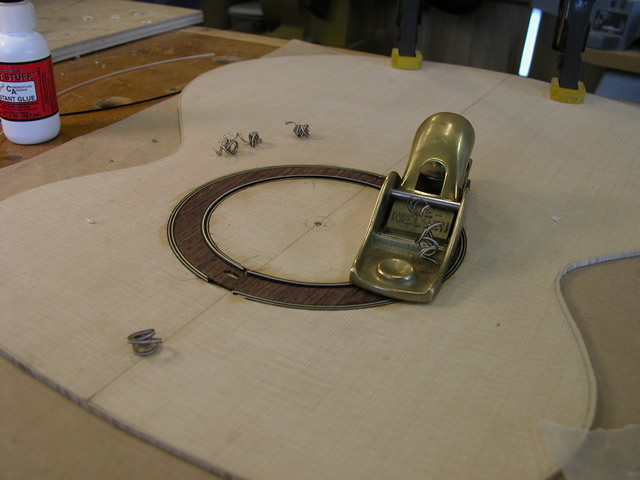
| Once home, it took about a week before I could work on the guitar
again. Dan had mentioned that we would need to work diligently at home
in order to complete enough work to have a guitar by the end of the
summer. I began by planing the partially completed rosette to nearly
flush with the guitar top. So far, the rosewood ring is glued in place,
but the purflings surrounding the ring are still held only with masking
tape. |
 |
| My intent, once the rings are planed close-to-flush, was to then
use thin CA glue to glue the purflings in place. However, once the
purflings
were planed, there were unsightly gaps between the outside of the purflings
and the channel routed in the guitar top. |
 |
| I decided to carefully pull out the purfling bands, so that I could
insert some addition bands to take care of the gaps. This was very
difficult, since the bands had been planed and were now very narrow
and difficult to handle. In addition, the added purfling strips were
so significantly wider than the old, planed ones (see the picture),
that I spent a very concentrated couple of hours tucking everything
back
in place until I was satisfied with the look. I suspect that this detail
is just the tip of the iceberg of the kind of close work that will
come in the next steps of the guitar. |
 |
| Once everything was in place, I carefully planed down the new purflings
until they were close to flush with the guitar top. Finally, I then
used thin CA glue to glue in the strips. |
 |
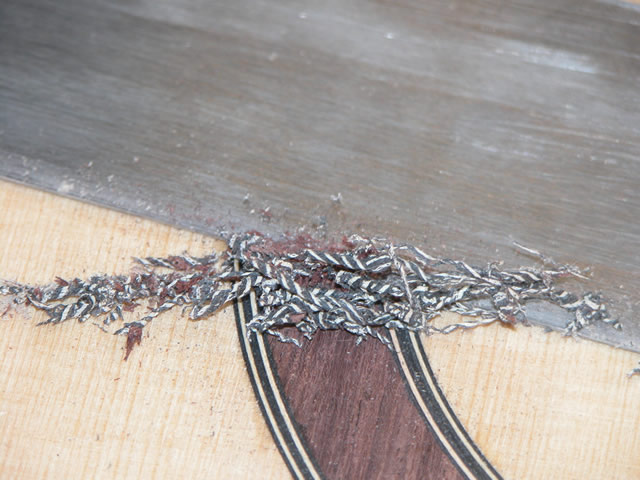
| As a final step, I carefully prepared my scraper (using techniques
that Dan taught during the last weekend) and cleaned up the rosette.
Note the nicely curled pieces of purfling that resulted from the scraping. |
 |
| Now, the finished rosette is something that I think will be a center
piece on my new guitar. It's time to set the top aside and work on
installing the back braces. |
 |
| Elapsed time for these steps: 7 hours... See
the main page for the cumulative time. |
|