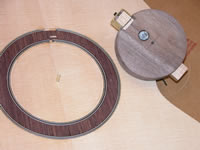
| To cut-out the soundhole, I needed to make a circle-cutting jig.
I patterned my jig loosely after the jig that Dan had constructed
for his guitars. I had one special problem, though--since I didn't
cut my soundhole before installing the braces, I needed to make a
circle cutter that could cut within close tolerances to the end of
the cutter arm. In other words, the sound hole braces were already
located near the circle itself, and they would interfere with the
circle cutter if the cutter extended much beyond the cutting knife.
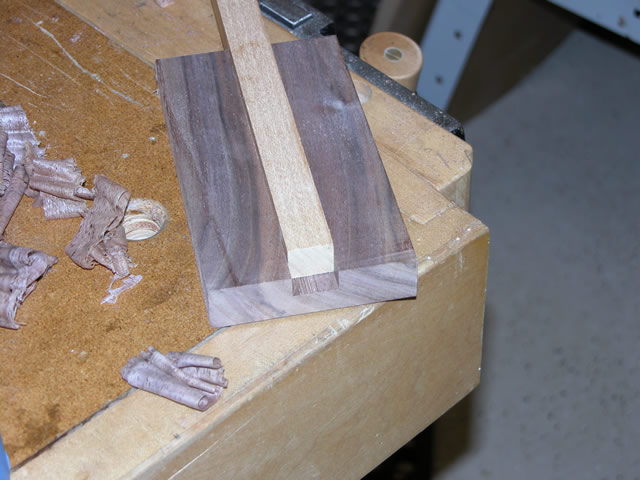
I began with some scrap wood I had from some furniture projects,
and put a 3/4" groove in a block to fit a 3/4 arm. |
 |
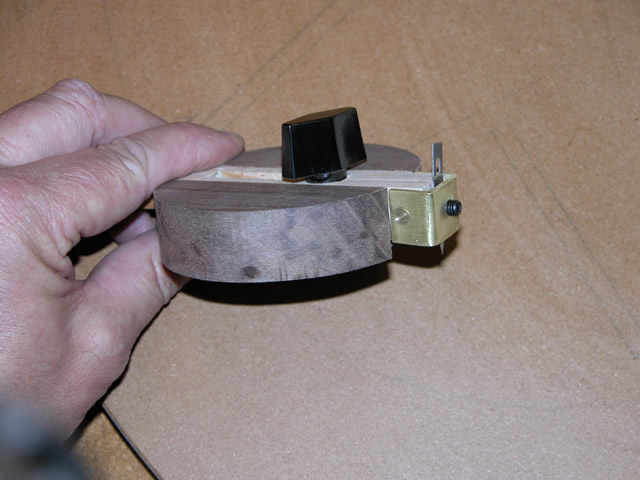
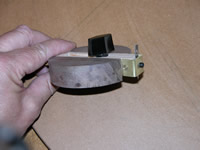
| I then cut the block into a circular shape, drilled a 1/8' index
hole in the center, and super-glued a bolt on the center of the groove
(offset from the center of the circle). I cut a mortise along the
center of the cutter bar that would fit over the bolt and topped
that with a plastic wing nut. Finally, to solve the clearance problem,
I took a small piece of brass bar, bent it into a "u" shape, affixed
to the side of the cutter bar with screws, and tapped a threaded
opening for a set screw that will be used to hold the cutter blade.
For the blade, I ground an Exacto knife blade so that it can cut
both directions. |
 |
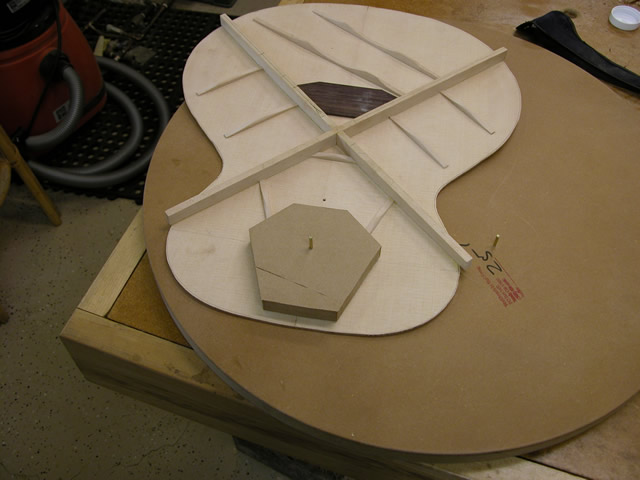
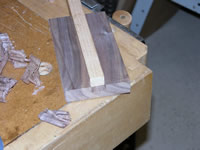
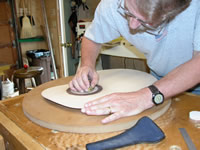
| To cut the hole on the top of the guitar, I needed to have the
surface supported fully underneath the cut. (Since I had already
installed the braces, the top wouldn't bear directly on the workboard.)
To make this happen, I cut a small, shaped workboard as shown, and
drilled
a 1/8" hole
to index the cutter. I purchased a small piece of 1/8" brass
rod, cut of a few 1" long pieces to use as indexing pins., and
rounded the ends of the pins on the grinder. |
 |
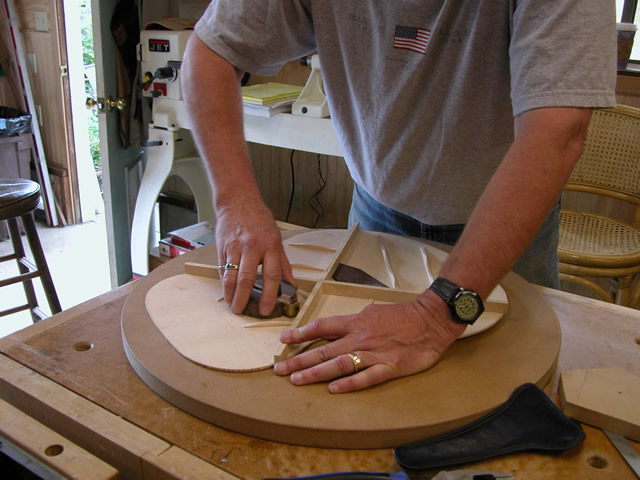
| This small workboard was placed underneath the top, and I carefully
began cutting the top, work a quarter circle at a time in opposite
directions to cut "with"
the grain. |
 |
| I slowly deepened my cuts, cutting down to just over 1/2 the thickness
of the top. |
 |
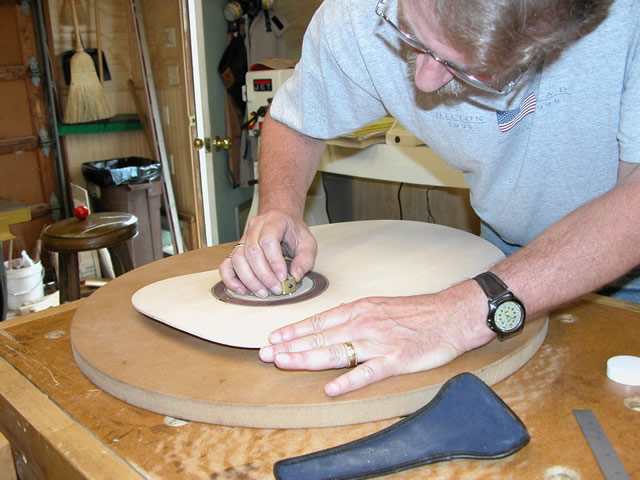
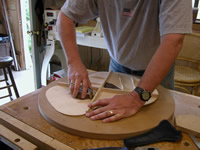
| Then, I drilled a 1/8" index hole in my workboard, and turned
the top over and repeated the process until I had finally cut through
to the cut made on the other side. ( Since I didn't have braces that
would interfere, I could place the top upside down directly on the
workboard.) The kerf was so thin that it was hard to tell when the
final cut was
made.
In
this
picture,
you
can
see the issue about tight clearance between the jig and the already-installed
braces. |
 |
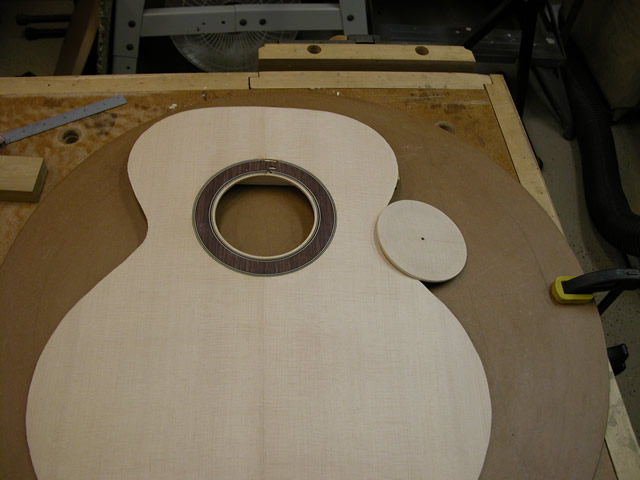
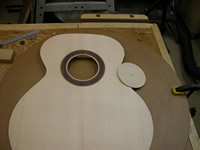
| In the end, a nicely-formed soundhole had been
created. |
 |
| Elapsed time for these steps
(including making the jig):
10 hours... See the main page for the
cumulative time. |
|
|