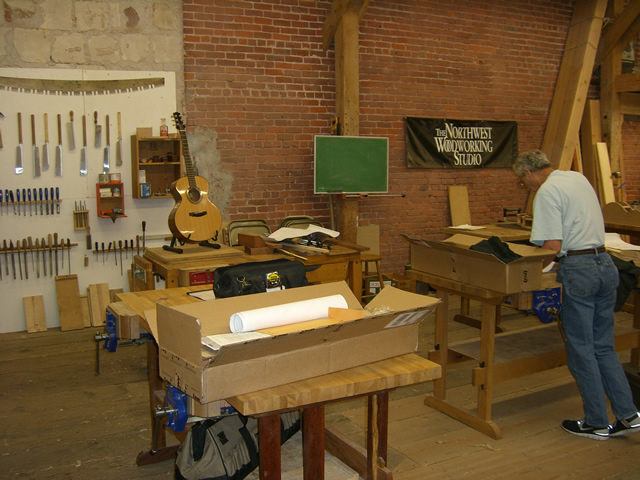
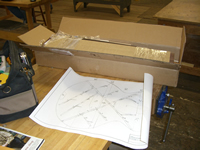
| The class began with a box of materials and a view of what our completed
guitar should look like, if we carefully follow all of Dan's instructions. |
 |
| Dan provided plans for the small jumbo (sounds like a contradiction
in terms) steel string guitar. |
 |
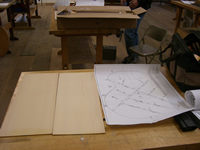
| We began by joining together the top and back of the guitar. Both
top and back are made up of two book-matched quarter-sawn pieces of
wood--the top (shown) is Sitka Spruce and the back is Rosewood. We
jointed the edge of the pieces, applied AR glue to the Spruce and CA
glue to the Rosewood, taped the pieces together and then weighted down
the glue joint until the
pieces
were
dry enough to continue. |
 |
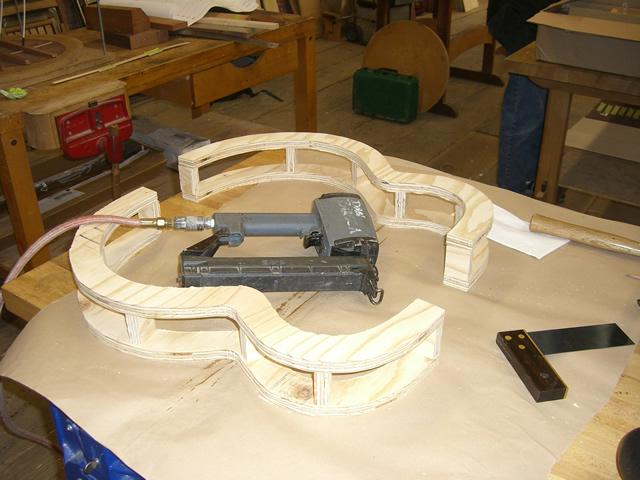
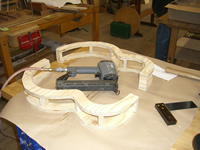
| While waiting for the top and back pieces to dry, we built our guitar
forms, based upon Dan's plan. My form is made up of 3/4" A-C plywood
that came from Lowe's. The pieces were temporarily stapled together,
then permanently joined with screws. |
 |
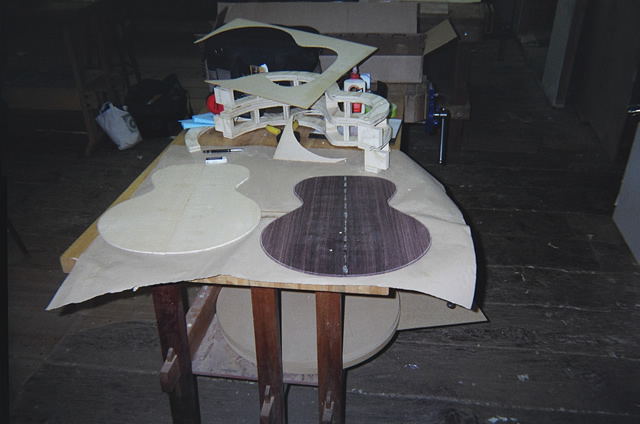
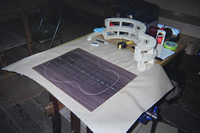
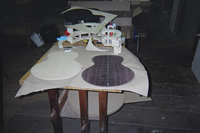
| Once the top and back were dry, the next step was to use the form
to mark an outline of the guitar body, carefully ensuring that the
grain was oriented in the most aesthetic direction. Both the top and
the back were marked this way. |
 |
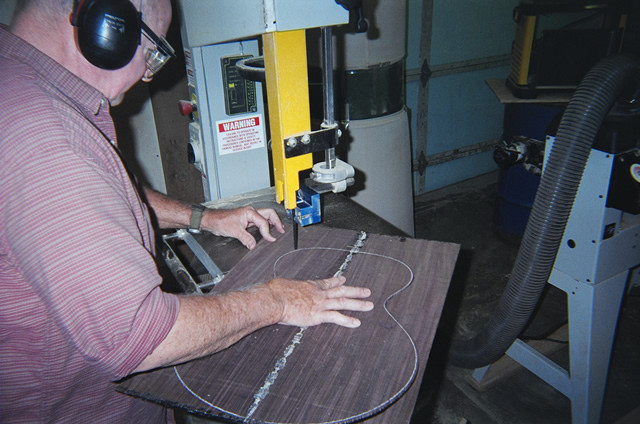
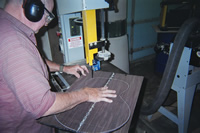
| We each took turns, practicing patience at the band saw as we cut
out both the tops and the backs (shown) of our guitars. |
 |
| Wow! the results were exciting. In the space of just a day we were
already beginning to see results. This guitar building stuff doesn't
seem so hard after all (just wait...). |
 |
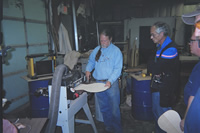
| Dan brought his thickness sander, and we each sanded both our tops
and backs down to working thicknesses. The glue lines disappeared and
the beauty of the two pieces emerged. |
 |
| Elapsed time for these steps: 10 hours... See
the main page for
the cumulative time. |
|