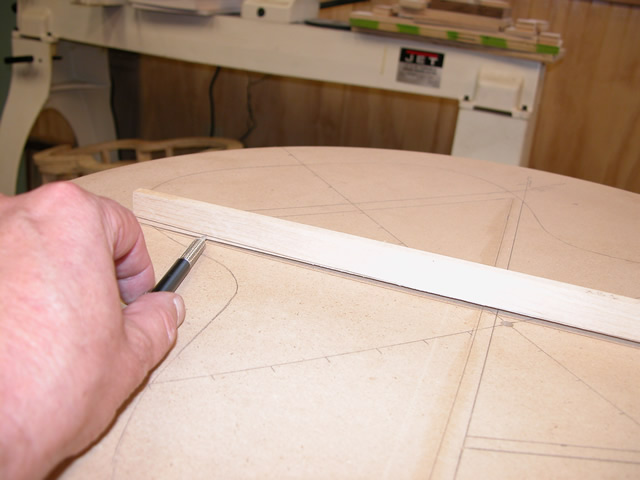
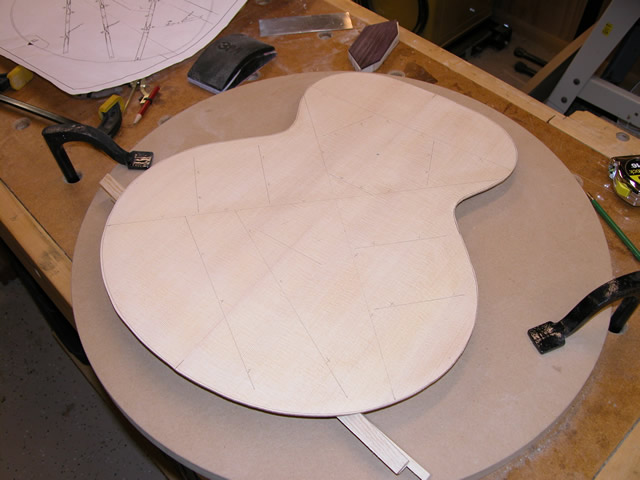
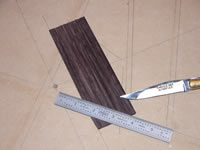
| I started the soundboard bracing process by marking the locations
of the soundboard braces on the 25' domed working board. |
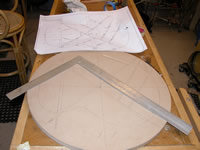 |
| The next step is to mark the contour on each of the braces, where
they meet the domed workboard. |
 |
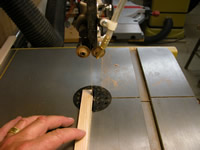
| The countouring begins with rough-cutting the penciled-in contour
with the bandsaw. After roughing with the bandsaw, I then used a #4-1/2
bench plane to smooth out the bandsaw machine marks and to trim more
closely to the marked line. |
 |
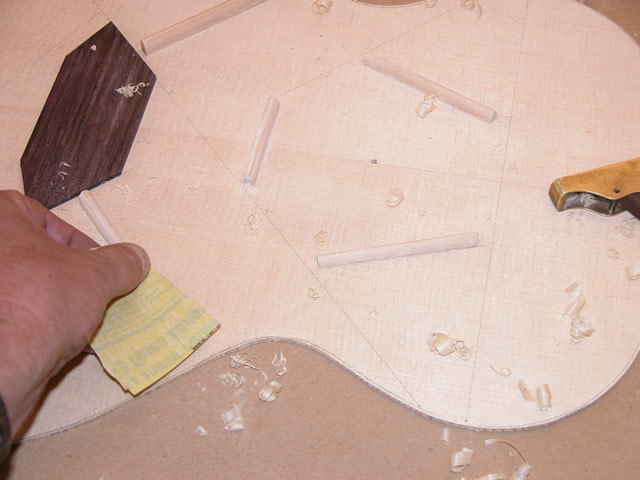
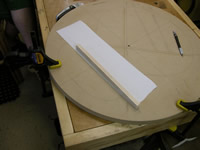
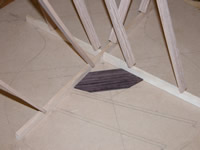
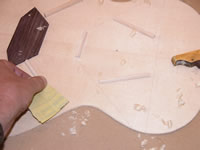
| The final step in contouring was to place a piece of self-adhesived
sanding strip in the location of the brace (shown is the upper soundhole
brace) and then sand the bottom of the brace to the contour. I first
marked the bottom with pencil so that I could see where the sanding
was effective, and if necessary sped up the process with thin shaving
from a block plane. I continued this process on all of the sundboard's
long pieces. |
 |
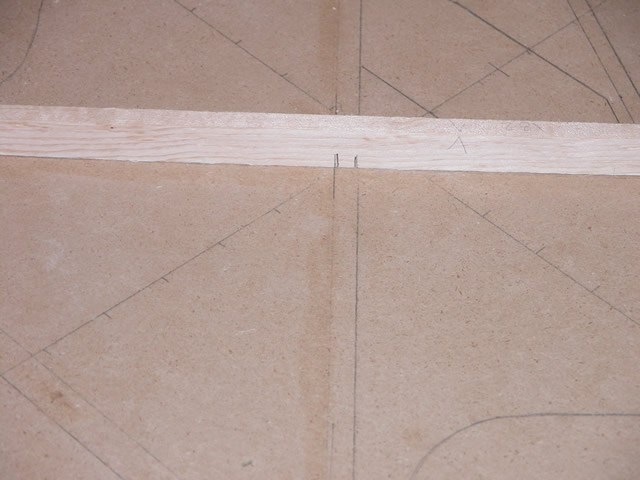
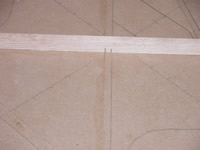
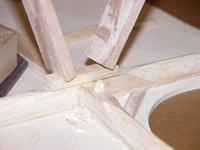
| The soundboard has two braces which cross each other--the X-braces--and
they are joind with a bridle joint. The first brace is marked for a
1/4" cut by laying it out on the working board. |
 |
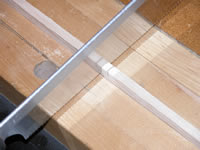
| The joint was cut using a dove-tail saw (here, using a Japanese "pull-saw").
Then the openings for both pieces were carefully trimmed with a chisel
until they fit. What was difficult about making this joint was getting
the angle of the cross-bracing exactly right. It took some fussing
and at one point I had to make a minor repair because i cut a little
too much in one direction. Next time, I'll take more time and make
more conservative cuts. |
 |
| Elapsed time for these steps: 7 hours... See
the main page for the cumulative time. |
|
| Now, it's time to install the bridge plate. I began first by building
a small jig--really a gluing caul, using 5/8 plywood cut to the shape
of the bridge plate. |
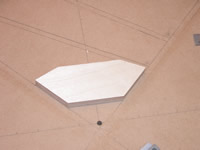 |
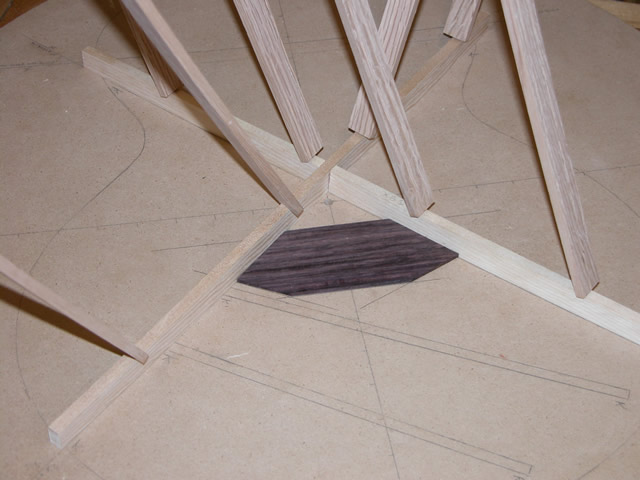
| Then, I used a piece of 1/8" x 2-1/8" x 6" rosewood, placed some
double-sided tape on the piece and placed it in position on the work
board. With a knife, I marked out the final shape using the layout
lines on the workboard. |
 |
| I then cut the bridge plate with a bandsaw. Temporarily clamping
the X-braces in place, I tested the shape of the bridge plate, and
made some fin adjustments until I was satisfied with the fit. |
 |
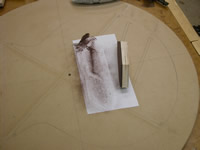
| Then, I double-taped the gluing caul to the rosewood bridge plate,
placed some self-adhesived sanding strip in the location of the bridge
plate on the work board, and contoured the glue face of the bridge
plate. When done, I removed the bridge plateand almost forgot which
surface had been contoured. The contouring is subtle, so it's easy
to get confused. I helped my confusion by marking the side of the bridge
plate that will be glued down (the contoured side); the markings will
be hidden when the plate is finally glued. |
 |
| Elapsed time for these steps: 1
hours... See the main page for the cumulative
time. |
|
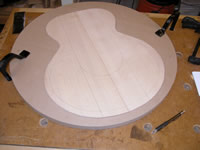
| Before the braces and bridge plate can be glued to the soundboard,
the soundboard requires final thicknessing. I waited until now, because
I wanted to do the final soundboard cleaning up just before installing
the braces. If I had cleaned up and thicknessed the top earlier, I'd
have been worried about getting it dirty or damaged. I began by cleaning
up the top. I used a scraper to clean up the rosette area (I didn't
want to use soundpaper around the rosewood for fear of getting rosewood
dust embedded into the spruce top). I then scraped the balance of the
top and finally sanded with 120 grit paper. |
 |
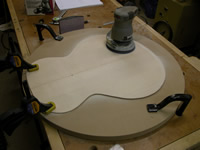
| Next, I marked the back of the soundboard top to indicate where the
top will be tapered. The "squiggly" lines you see in this picture indicate
where the top will be thinned--thinning the edge down from the center
(at 1/8" or .125") to .110" (removing only .015"). Then, further reducing
from the center to about 3/4" from the edge (marked on the photo) to
.100". |
 |
| I chose to do this process using 150 grit paper in my random orbital
sander. I learned that each pass removed about .005" of material, so
I worked very slowly and measured freuqently until I had the desired
results. |
 |
| Elapsed time for these steps: 3 hours... See
the main page for the cumulative time. |
|
| Now, the braces are cut and contoured, as is the bridge plate. The
soundboard top is cleaned up and thicknessed. It must be time to start
the glusing process--scary. I began by laying out all of the braces
on the back of the soundboard, using the plans. |
 |
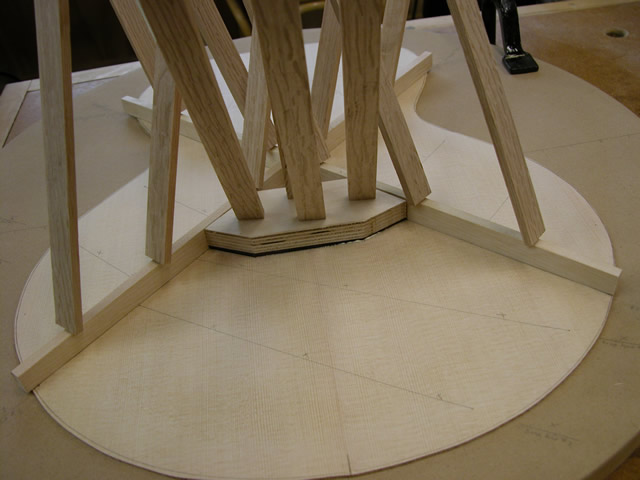
| The first step was to glue in the bridge plate. To do so, I again
temporarily placed the X-braces using the go-bar deck, and spread glue
on the bridge plate, placed it in position, put the glue caul on top,
and clamped it in place--using the X-braces as a guide. After about
10 minutes or so, I removed the X-braces so that they wouldn't get
glued down by any glue squeeze-out, and I used a chsel to remove all
of the squeeze-out that I could. |
 |
| Elapsed time for these steps: 2 hours... See
the main page for the cumulative time. |
|
| Leaving the bridge plate clamps in place to help press the top into
the workboard dome, I placed, glued and clamped the small finger braces
an d sound hole reinforcing braces. |
 |
| When the glue was dry, I then shaped the braces according to the
plans. Later, when Dan Biasca looked at the braces (after I had glued
the X-brace), he suggested that the ends should be more "scalloped",
rather than linearly
sloped.
It
would have been much easier to have accomplished the scalloping before
the X-braces were in place, due to their height and closeness to these
small braces. |
 |
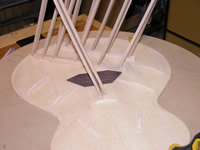
| The next step was to install the tone bars. Note that I placed a
couple of clamps in the center of the soundboard to help keep it in
the dome shape while the glue dried on the sound bars. When the glue
set, I the sculpted the tone bars. I initiallly sculpted the bars in
a kind of "bullet" profile; however, I changed the profile later to
a "triangulr" profile, with the top of the triangle slightly rounded.
I made this change after the X-braces were installed; it would have
been MUCH easier before the X-braces were installed. |
 |
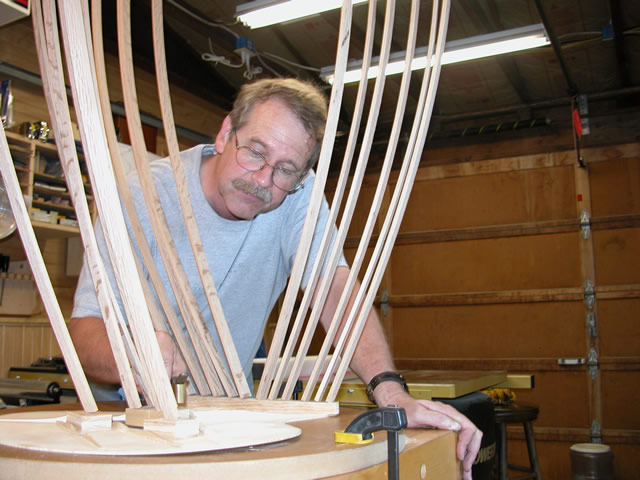
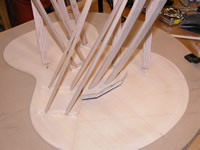
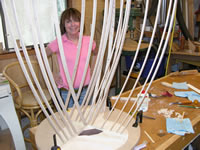
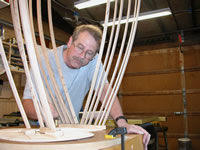
| Finally, and just the day before the next class, I installed the
X-braces. You can see in the photo that I have begun using more clamps.
This provides more even pressure along the braces. That's Carol, my
wife, who has watched the progress. She's getting kind of excited that
it's starting to look like a guitar! |
 |
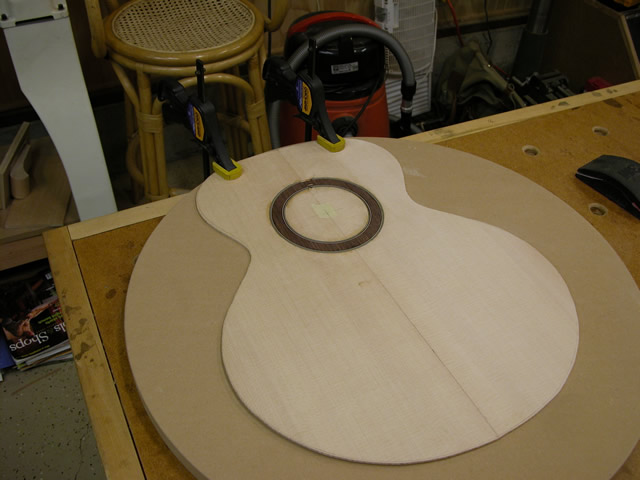
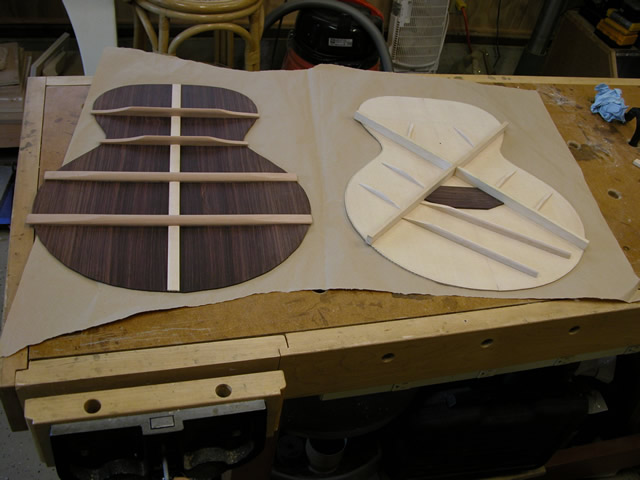
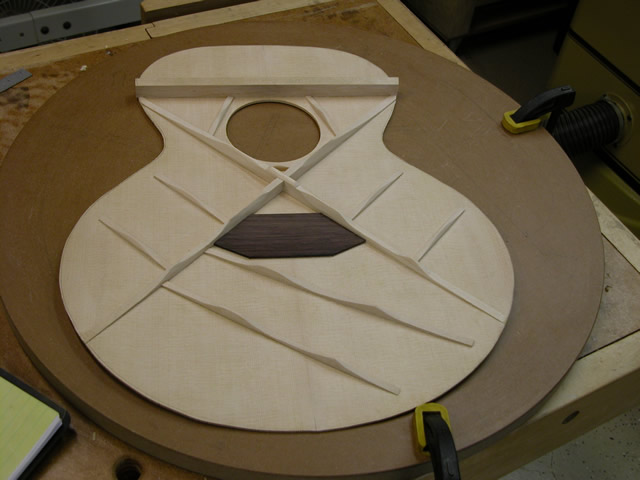
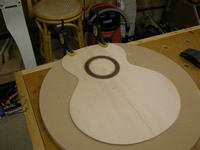
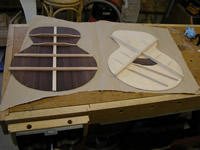
| Here's what I've accomplished just before the second class--a braced
back and a (mostly) braced soundboard with the rosette installed on
the face. |
 |
| Elapsed time for these steps: 7 hours... See
the main page for the cumulative time. |
|
| Now to pack up my month's worth of work and head to the second class... |
|
| After class, I added the Upper Soundhole Brace, and continued brace
contouring. |
 |
| The final brace addition was the small cap that was glued over the
"open" side of the X-brace. Note that the X-braces are left flat (uncontoured)
over the area of the joint. |
 |
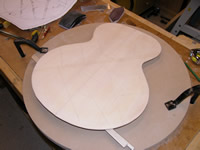
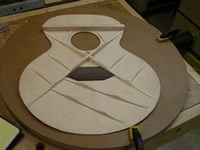
| A view of the back of the soundboard with all of the braces contoured,
except for the Upper Soundhole Brace. |
 |
| Elapsed time for these steps: 5 hours... See
the main page for the cumulative time.. |
|