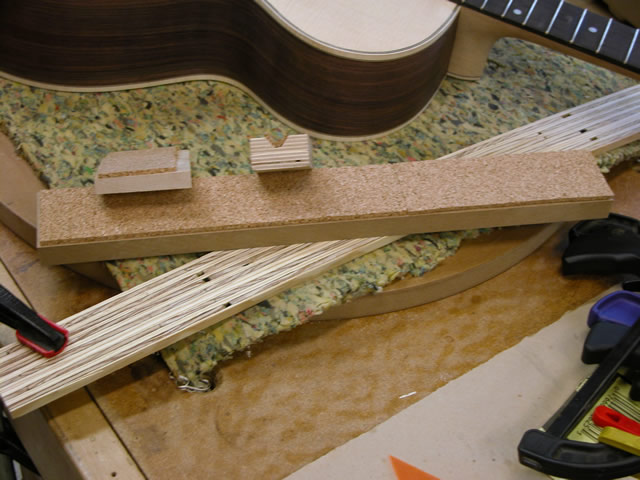
The neck is done, except for fret leveling and finishing, which I can only do after the neck is attached to the body. The body is done, except for attaching the bridge, which I can only do when the neck is attached to the body, So...I guess I need to attach the neck to the body! To provide for clamping, I built these three clamping cauls and lined them with cork so that I wouldn't damage the guitar parts. Before gluing, I also carefully cleaned up the top, heel, and heel-side of the guitar. |
 |
| I spread glue on the guitar-side of the fingerboard, and carefully bolted the neck in place, then used the cork-lined cauls to clamp the neck in place. I checked, re-checked, and double-re-checked to see that everything was well-placed. |  |
| Here, you can see the heel fit on the left side of the guitar. | 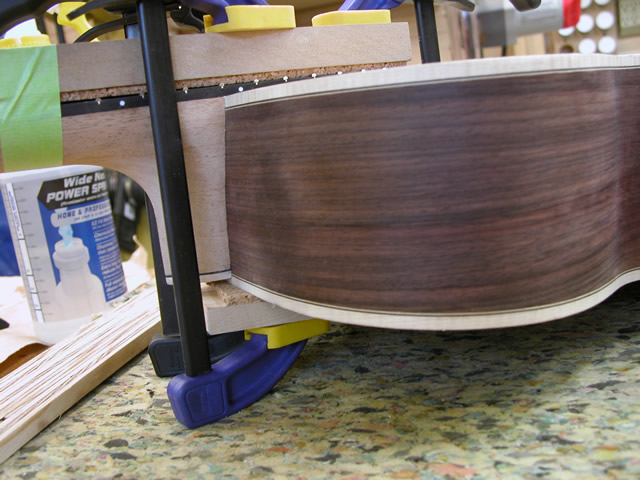 |
| Note how the clamping caul with the "vee" notch was used to protect the soundhole brace while clamping the fingerboard. | 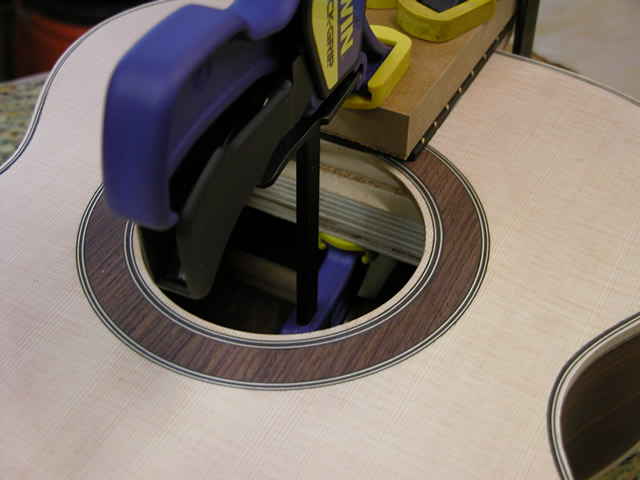 |
| Finally, the right side of the heel block where it meets the guitar. Things look great. | 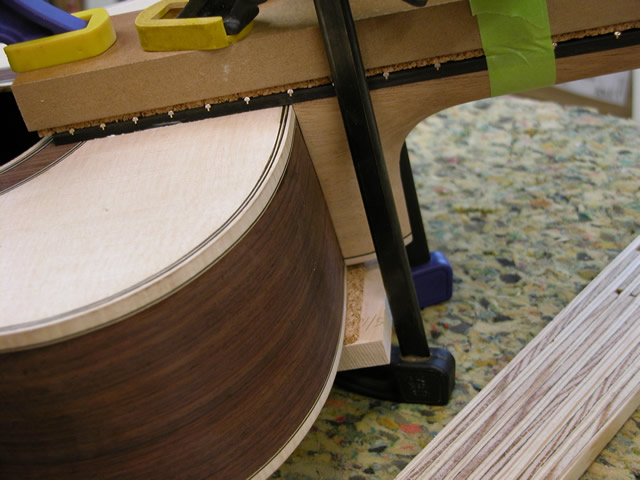 |
| Since everything looks OK, I added a second clamp at the soundhole and now I'll leave the assembly to sit overnight. Can't wait to get those clamps off. | 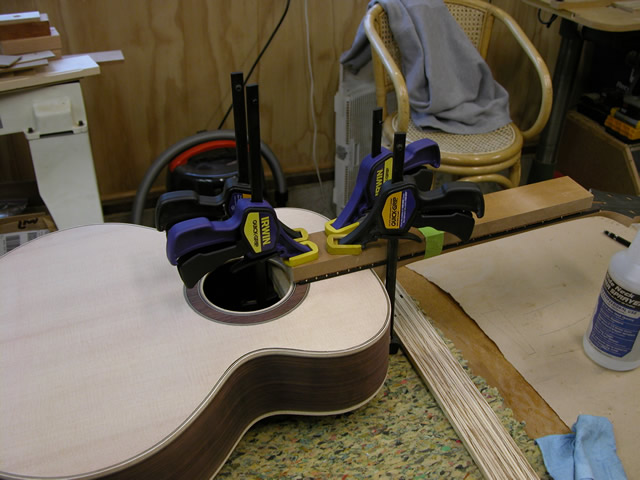 |
| Clamps are off, ready for adjusting the frets... | 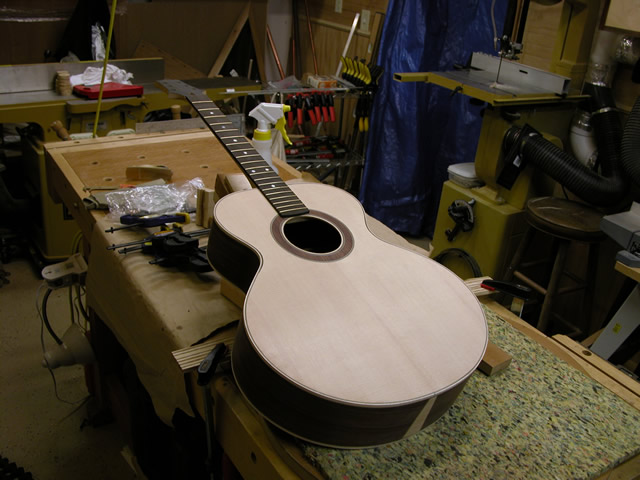 |
| Elapsed time for these steps: 2 hours... See the main page for the cumulative time. | |
| To start adjusting the frets, I first check the frets for level. I discovered that a couple of the frets are slightly high. | 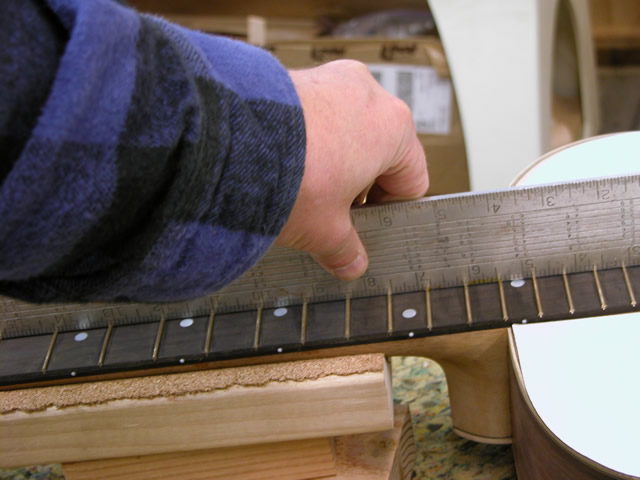 |
| In addition, I checked to see that the neck angle is still properly set. Here, I have placed the bridge in approximately the right location, and placed my straight edge on top of the frets. There is a slight gap between the straight edge and the top of the bridge. This should work well when finally tuning the guitar. | 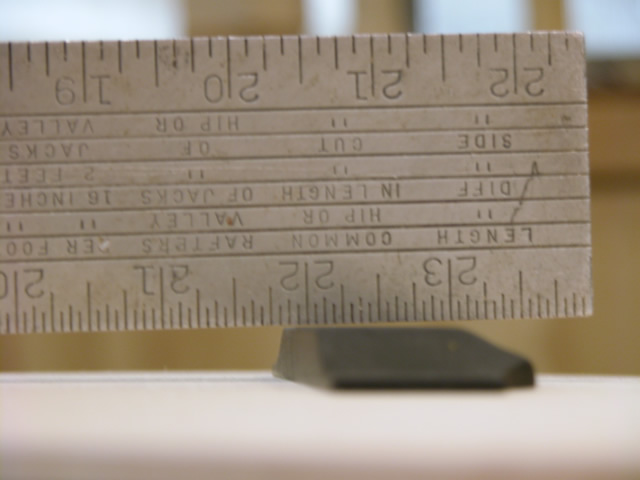 |
| I started the fret leveling process by carefully filing down the high frets (it didn't take much--just a few strokes of the file). Then, I ensured that the frets were level from one to the next. I did this by using a fine, single-cut file across several frets at a time. This leveled the frets, but created a flat spot on top of each fret. | 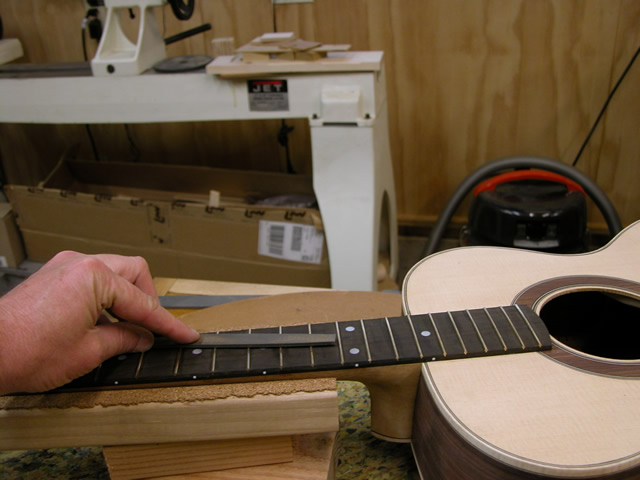 |
| When the frets were leveled, I needed to re-round the frets. I use a fine-cut triangular file to re-round the frets. However, those files are serrated on the edges, so to protect the fingerboard, I ground the tips of the "triangle" smooth on my grinder, as you see. This was suggested by the Jonathon Kinkead book, and it worked very well. | 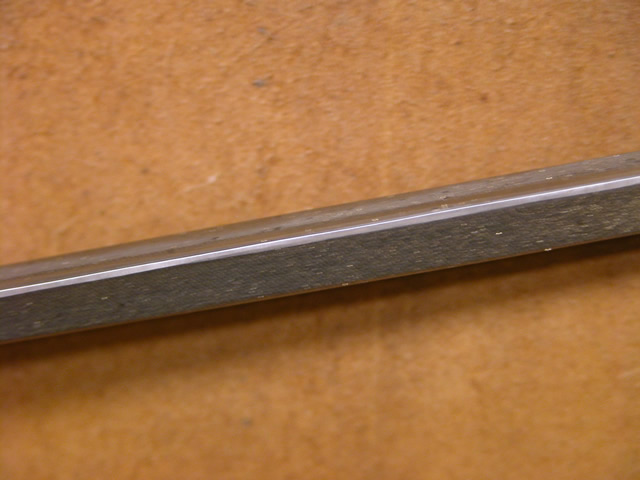 |
| I carefully moved from fret to fret, re-rounding each. Here, I am working on fret. The other fret you see has been rounded on the top. |  |
| Also, I adjusted the ends of the frets at a slight angle, so that the guitar will be more "playable"--i.e., it won't hurt the hand to press the string against the frets. To protect the guitar top, I cut a protective caul out of some scrap formica. | 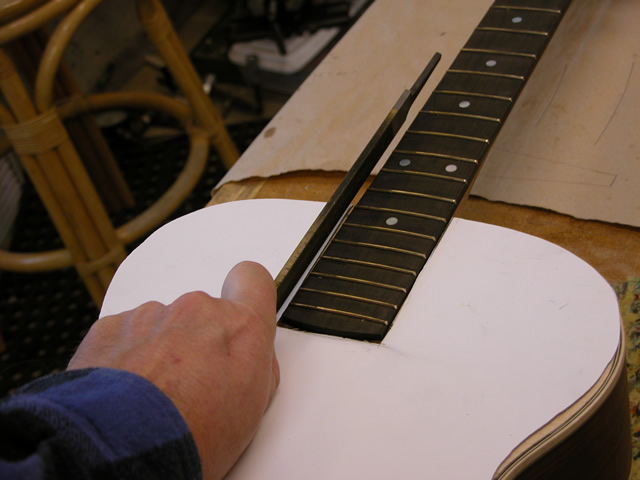 |
| Finally, after all of the filing, I polished the frets using progressive grits of sandpaper--400, 600, 800, 1200. Maybe a little touch up will be required later, but they look pretty good now. | 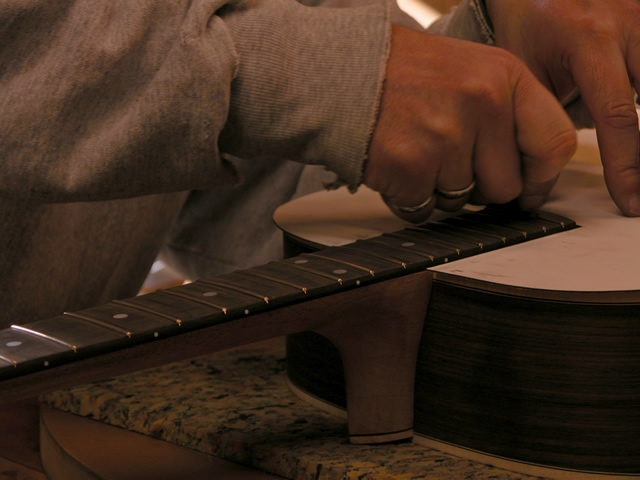 |
| Elapsed time for these steps: 3 hours... See the main page for the cumulative time. | |
| Another detail before finishing--applying an inlay to the headstock. I drafted a graphic representation of my favorite Cascade volcano--Mt. Jefferson. Then, I cut out a model of the artwork in formica, temporarily installed the tuning machines, and used stick-glue to place the formica template on the headstock. This way, I could visualize the finished condition, and plan the final placement. Based on the trial, I decided to slightly reduce the final inlay from that shown. | 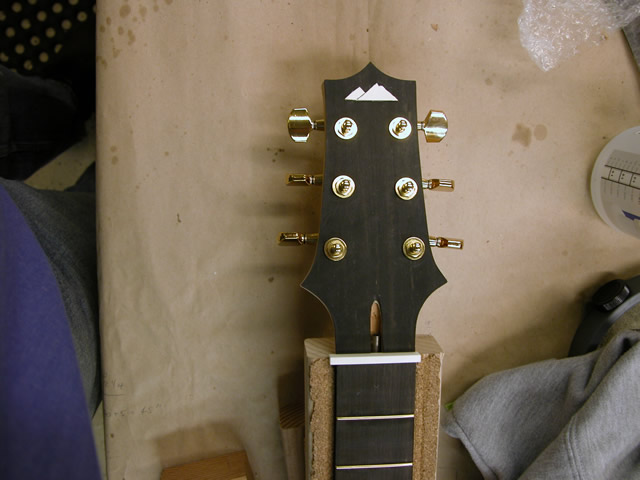 |
| I recut a new inlay template in the adjusted size, and then re-cut a formica template in the new size. I obtained some figured mother-of-pearl inlay blanks, traced out the pattern, and used a jeweler's saw to cut out the two pieces of the inlay. | 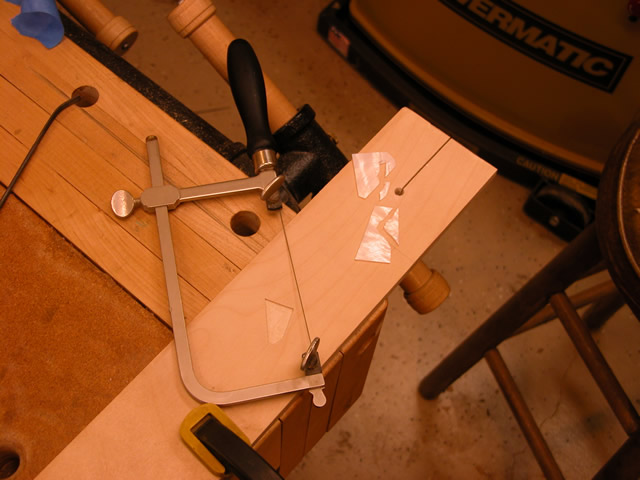 |
| To lay out the inlay on the neck, I placed a piece of double-stick tape on the headstock, drew my lay-out line and placed the inlay pieces in the final location. Then I carefully used an Exacto knife to trace around the inlay. When done, I used the knife to remove the inlay pieces, pulled up the tape, and highlighted the knife-score with a pencil. | 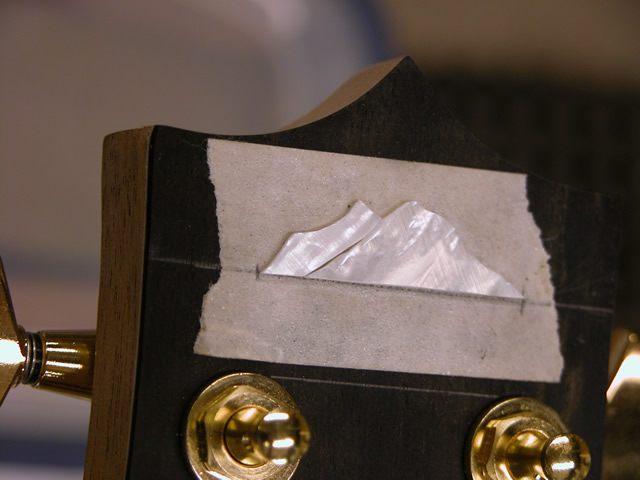 |
| I then prepare to rout out the inlay area. First, I had to rig up a means to hold the guitar neck steady while I worked on the inlay. Here, you can see how I did just that. | 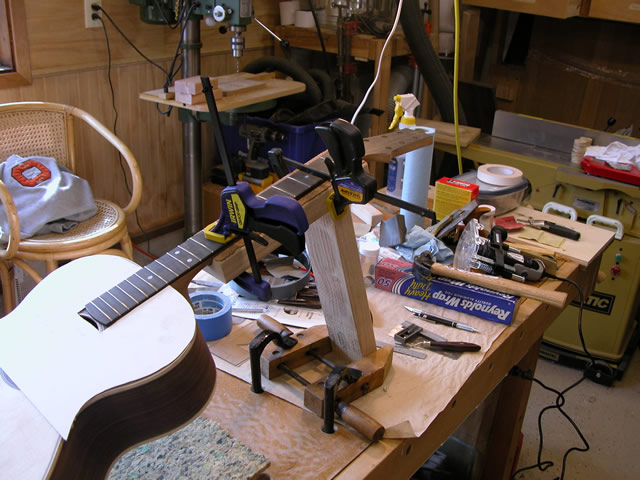 |
| Then using a router set up with a Dremel tool and a 1/8" router bit, I carefully routed as much of the figure as I could. Working very slowly, I could rout right up to the lines. |  |
| Of course, the 1/8" router bit couldn't clean out all of the tight corners, so I use some very small chisels to complete the inlay mortise. I used a magnifying hood to help me with this close work. The ebony was very brittle and I had to be vary careful not to accidentally chip the edges. | 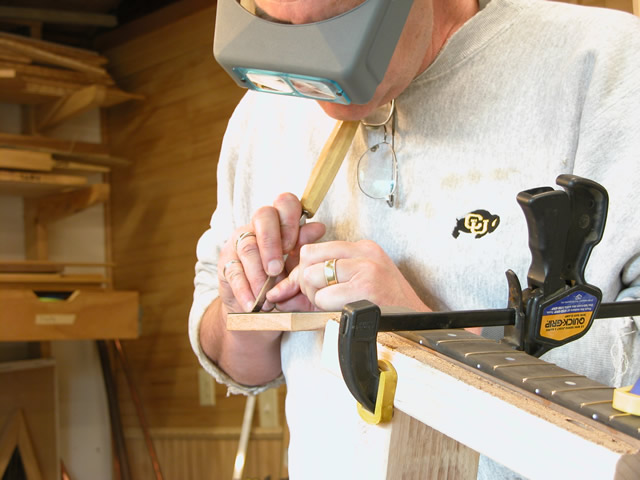 |
| I colored some epoxy with epoxy colorant. I had earlier test using ebony dust with epoxy, but I didn't like the coarse nature of the epoxy after adding the dust. The epoxy colorant didn't add to the thickness of the epoxy, which I liked. | 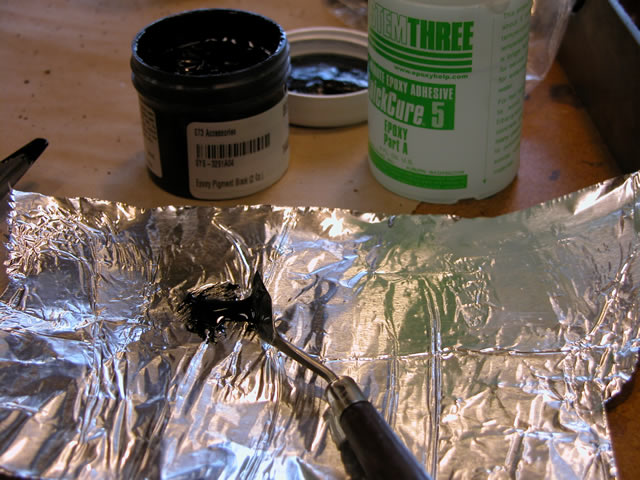 |
| Here's a shot of the piece epoxied in place. I use 5-minute epoxy, and let the piece set for about four hours to harden. The colorant appeared to slow down the setting process, so I wanted to allow ample time for curing. | 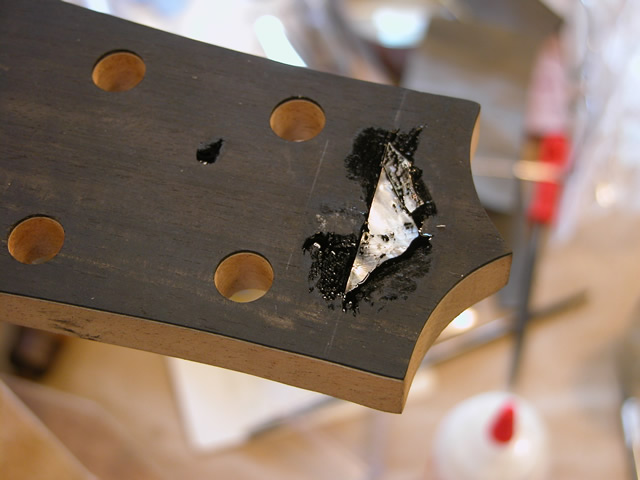 |
| Finally, I used a small, fine flat file to reduce the mother-of-pearl inlay down to the level of the ebony. | 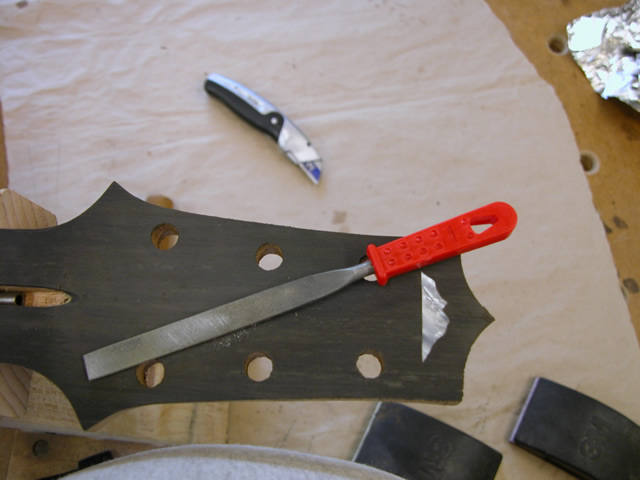 |
| Finally, I sanded lightly with 150 and then 220 grit paper. The result is a very neat inlay. This will look wonderful beneath the finish. | 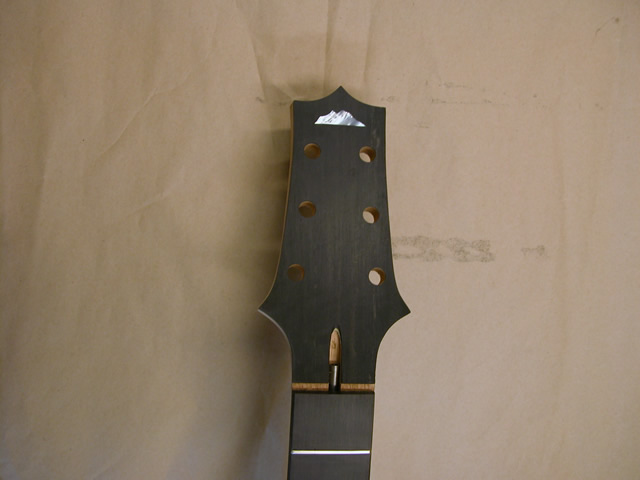 |
| An additional detail--I worry about the neck bolt vibrating loose, so I used a little thread-locking compound to help secure the neck bolt. To install this, I clamped the heel to the guitar body, removed the bolt, applied the compound (shown) and re-installed the bolt. I was careful not to get any of the compound on the inside of the guitar. | 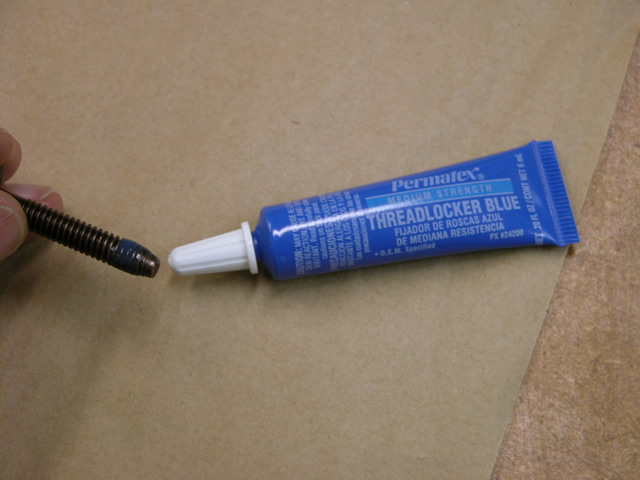 |
| It's my birthday!!!!!!! And so, I'm a year older than when I started the guitar. My gift was a guitar case, in which I have placed the unfinished guitar. It's great; I can keep the guitar safe while I figure out the finishing... | 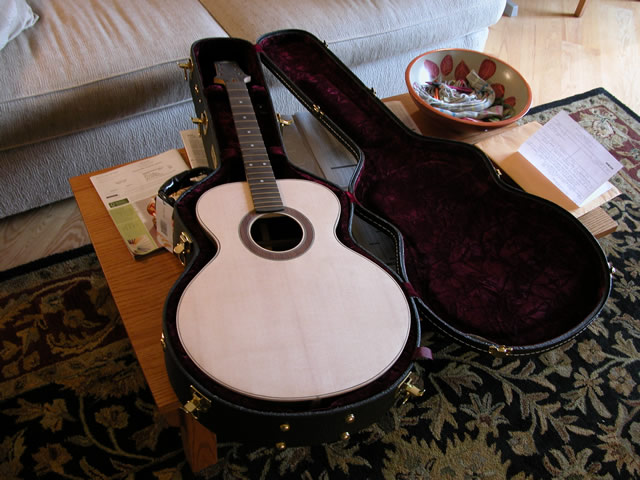 |
| Elapsed time for these steps: 5 hours... See the main page for the cumulative time. |